

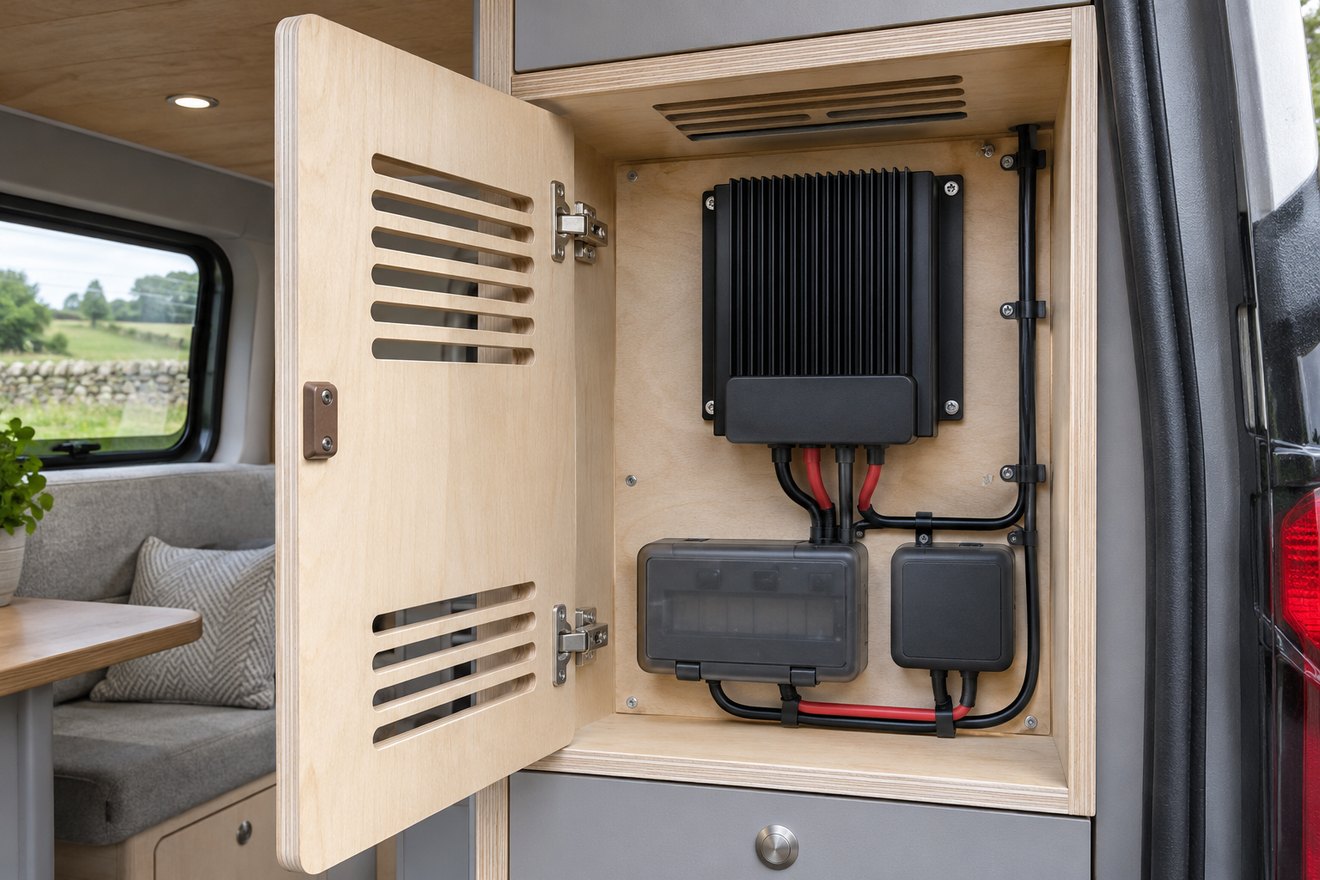
A campervan solar charge controller needs to suit the roof array and leisure battery together. Collect the exact panel, controller and battery specifications before buying. Panel watts are useful for estimating energy, while the controller also has voltage, current and battery charging limits that matter to the installation.
Record panel voltage and current figures
Find the panel’s open circuit voltage, short circuit current and voltage temperature coefficient. Ask a qualified installer to check the proposed arrangement, including the highest expected voltage in cold conditions. Series and parallel layouts change the inputs the controller sees. The Victron SmartSolar installation guide shows how one manufacturer distinguishes these limits. Use the instructions for the actual model you choose.
Check the battery end of the system
Confirm the battery’s recommended charge profile, voltage and current. Include the combined effect of solar, driving and mains charging if more than one can run at once. If you plan to add a panel later, ask the installer to account for that future array and document the allowable combinations.
Draw the mounting and inspection space
Check ventilation, mounting orientation and access to connections and protection devices. Give the unit space above and below as specified in its manual and make sure stored items cannot obstruct it. Once fitted, ask the installer to show you how the controller reports charging and faults and to document its shutdown sequence.
FAQ
Can I select a controller using panel wattage alone?
Check the input voltage and current limits, battery requirements and equipment instructions as well as the array’s nominal power.
Can I add a portable panel to a fixed one?
Check the array and controller compatibility with an installer. Some combinations work better on separate suitable inputs.
Read our campervan solar calculator guide for the next part of the build. You can also send your layout and measurements to NEVAN.