
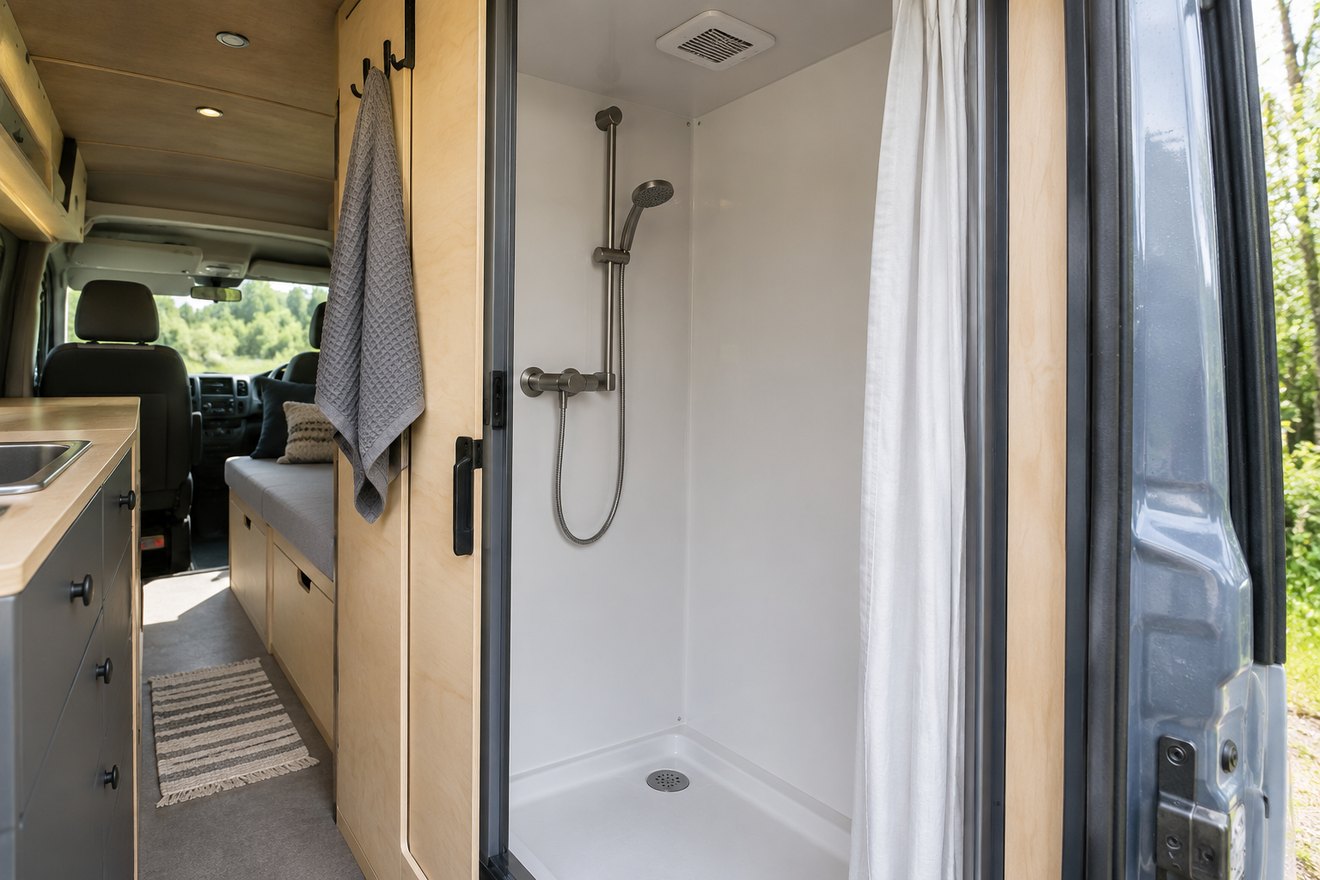
A campervan shower vent needs an easy route from the damp compartment to the outside. Start with the way you shower. A folding enclosure used occasionally can have different drying needs from a closed wet room that two people use every morning. Work out how air will enter the compartment as well as leave it.
Follow the air path with the door closed
Identify where replacement air comes from and whether a folded screen or curtain will impede it. Choose a suitable moisture-rated product for the location and follow the manufacturer’s mounting and duct requirements. Keep shower extraction separate from any appliance’s required ventilation. A main roof fan can help dry the wider van after a wash, although air movement inside a closed cubicle depends on its own path.
Check the ceiling and the roof together
Draw the wet room’s finished ceiling, roof ribs, solar hardware and overhead cupboards. Some vents need additional clearance for the collar, lid or duct bend. Ask the relevant installer to check locations that involve vehicle structure, water exposure or electrical work. Plan for the grille to come off for cleaning after ceiling trim and cupboard doors are fitted.
Test the drying routine on a real wash
After showering, clear standing water from the tray and let the vent run as the equipment instructions allow. Compare how the ceiling and corners dry with the enclosure in its normal position. Hanging wet towels over the grille or closing the make-up air route can undo much of the effect. Check behind trim for retained moisture before final boxing-in.
FAQ
Can I vent the shower into the van roof cavity?
Route the moisture to the outside through a suitable fitting. Condensation in a closed roof space is hard to see and dry.
Will a bigger extractor solve all the drying issues?
Check make-up air, the duct route and standing water first. A larger fan is only one part of the assembly.
Read our folding shower layout guide for the next part of the build. You can also send your layout and measurements to NEVAN.