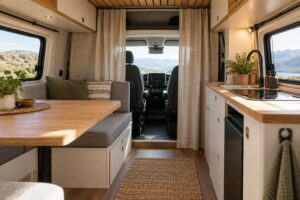

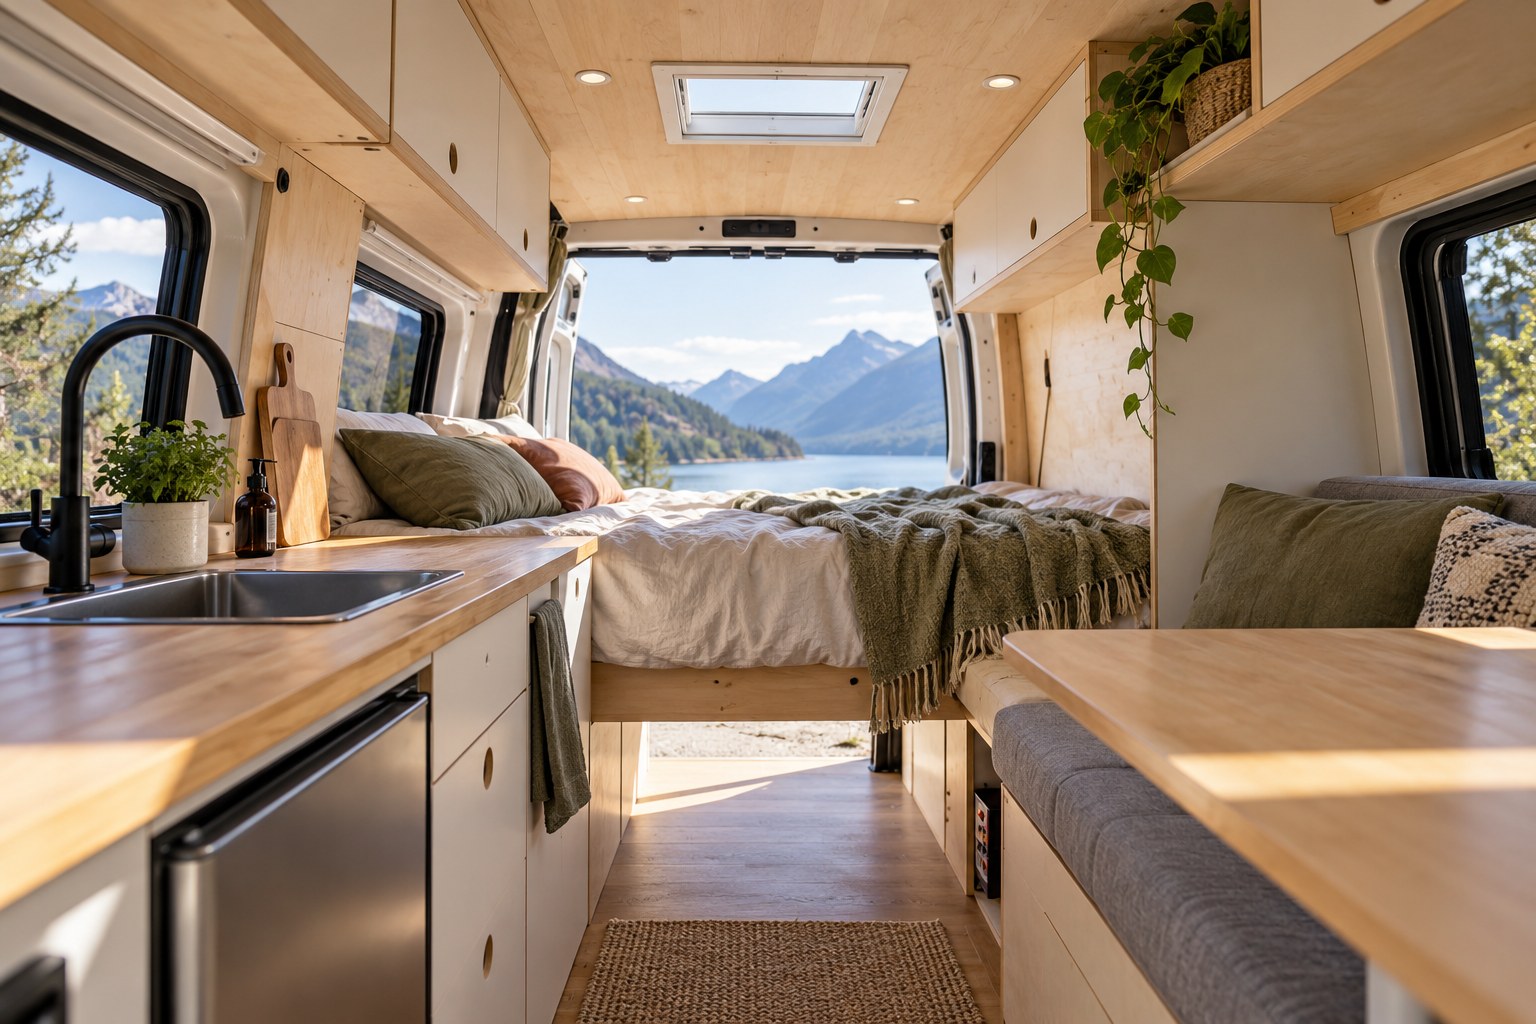
DIY camper ceiling ideas often begin with a photograph of a finished interior. A better starting point is the roof in your own van: the ribs, openings, curves and usable headroom. The finish needs to work around those features while leaving room for the furniture below.
Draw the ceiling as a complete surface before buying individual panels. Include lights, roof openings, cable access agreed with your installer, and the upper edges of tall cupboards.
Keep a record of finished headroom
Measure from the proposed finished floor to the proposed finished ceiling at several points. Include the floor and ceiling build-ups, rather than measuring only the empty metal shell. Check where you stand to cook, change clothes and move past another person.
The roof may curve down towards the sides, so one measurement at the centre does not describe the whole interior. A tall cabinet or overhead locker may need a different top detail from the central ceiling panels.
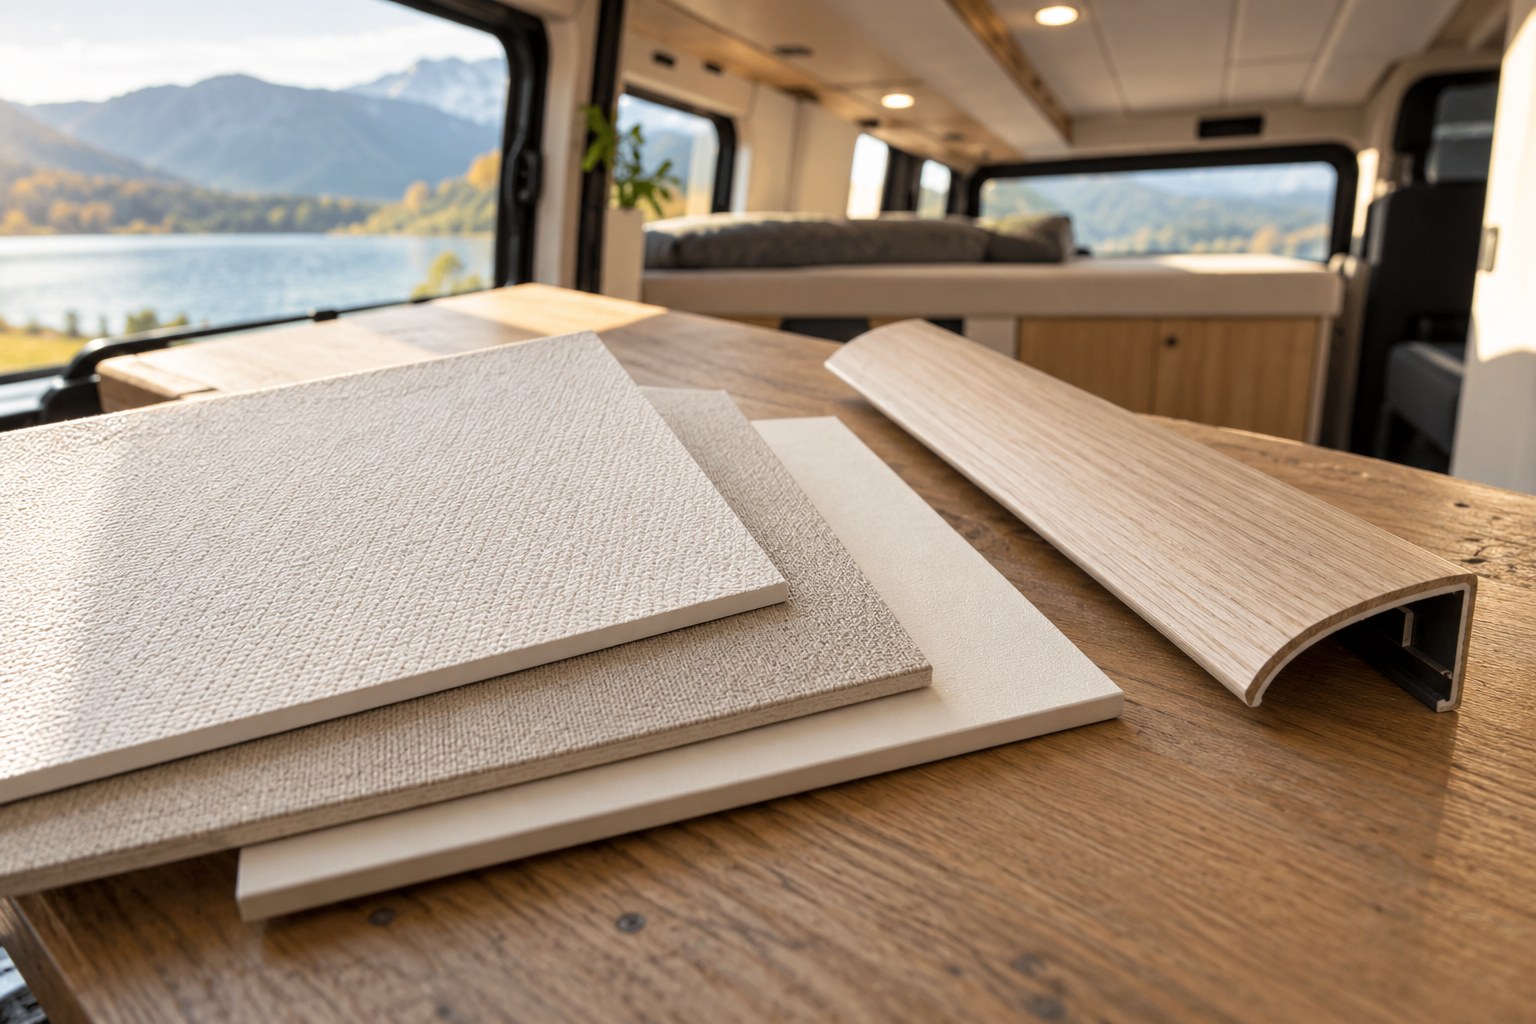
Choose panel lines deliberately
A single broad panel can create a quiet appearance, but it also needs to be carried into the van, positioned and supported. Smaller panels may be easier to handle and remove, with more joints to resolve. Narrow slats create their own pattern and cleaning considerations.
Sketch these options around the actual roof openings. Avoid leaving an unnecessarily narrow strip beside a roof light or a joint that ends awkwardly halfway across a cupboard. A paper layout helps reveal such problems before material is cut.
Compare the weight, installation instructions and finishing needs of the complete assembly. Do not assume that a lightweight-looking finish is suitable for overhead use without the right support and fixing system.
Fit the lighting to the activities below
Mark the kitchen worktop, table and reading positions on the ceiling drawing. A light placed neatly in the centre of a panel may sit behind your head when you cook. Test the proposed position with a temporary light while standing at the worktop.
- Keep roof-light controls and blinds reachable.
- Allow for cupboard doors when they are fully open.
- Leave the equipment clearances required by each supplier.
- Plan accessible routes for maintenance with the installer.
Our campervan lighting guide explains how to separate working light from the light used for relaxing or moving around at night.
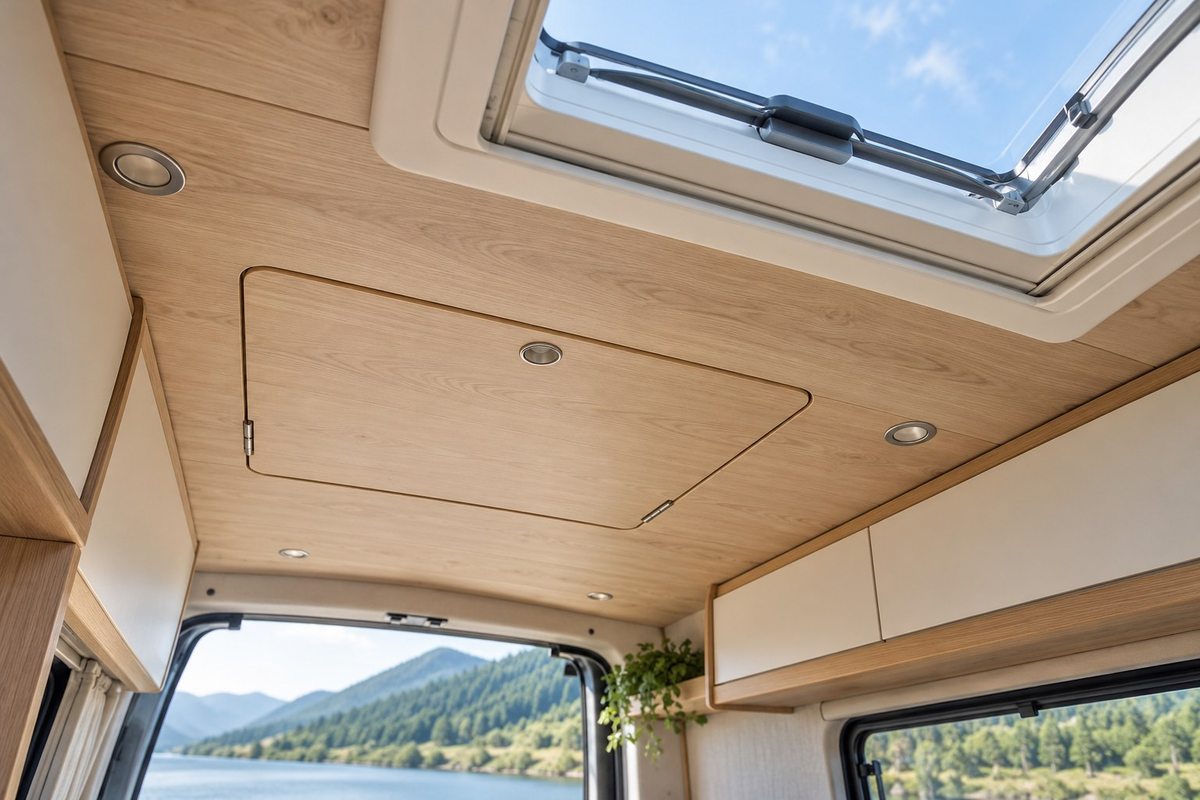
Make removable sections useful
Where a panel needs to come down, consider its removal path. Can it pass between fitted cupboards? Can the fasteners still be reached with the bed and kitchen installed? A removable section is only helpful if the surrounding furniture does not trap it.
Keep photographs and a dimensioned record of concealed routes before closing the lining. Have roof alterations and electrical work designed and completed by people competent in those tasks, following current vehicle and equipment instructions.
Check the ceiling with the furniture plan
Make a simple mock-up of the cupboard tops and ceiling edge. Look along the van from both doors and sit in the normal dining position. This makes uneven-looking junctions easier to spot than a close view of a sample.
When planning a NEVAN interior, confirm the required finished dimensions and the intended relationship between the kit, wall lining and ceiling before installation.
Frequently asked questions
When should I plan openings in a campervan ceiling?
Mark fans, lights and cable routes before cutting any panels. Align panel joins with accessible supports and leave the service points reachable.
How do I check that a ceiling panel will fit the curves?
Use a lightweight template and test it at each end of the van. Check that panel edges can still be lifted into place with the surrounding trim fitted.