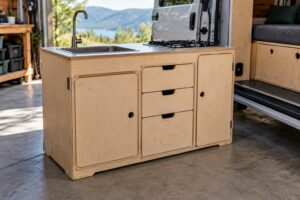

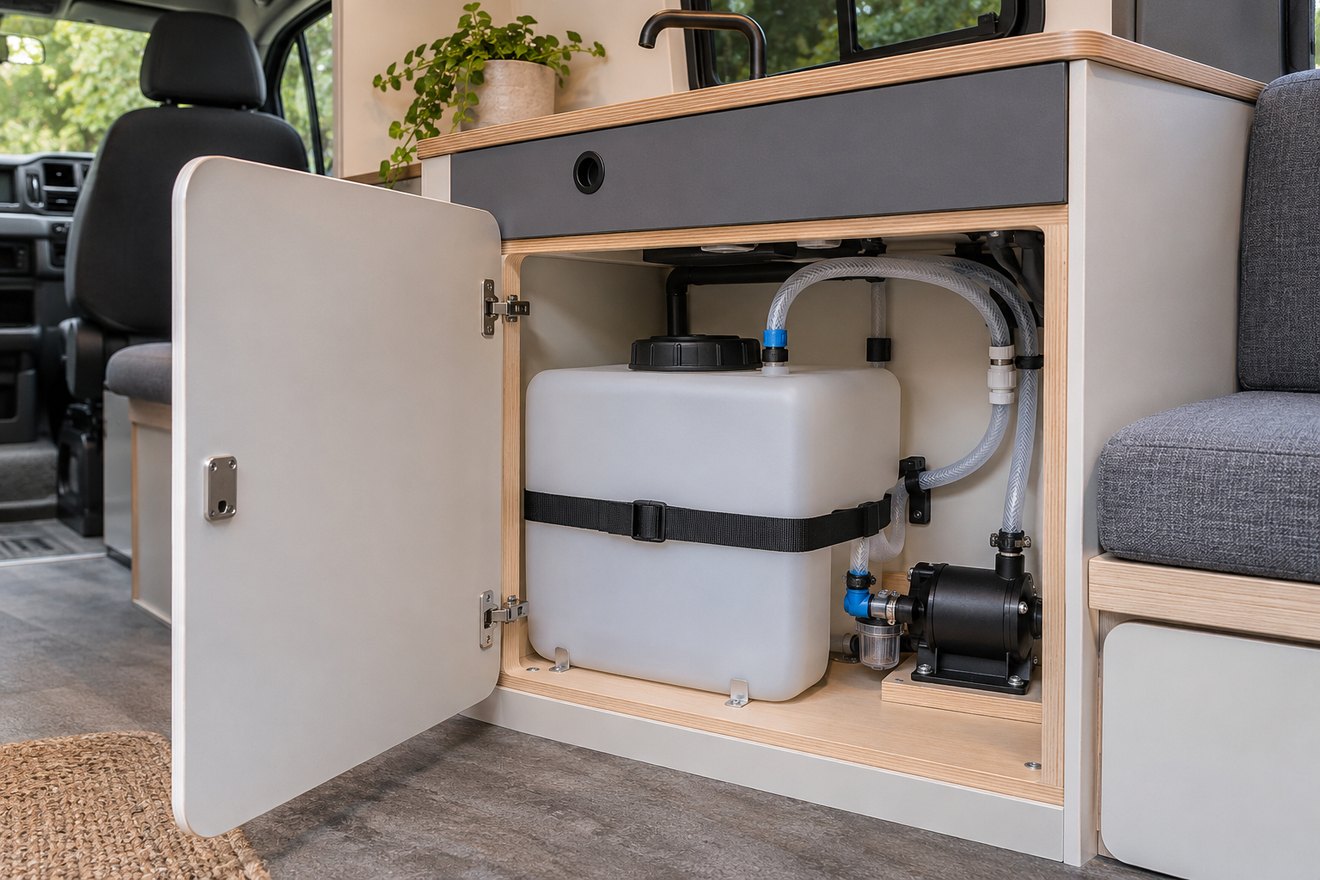
A campervan water tank and pump should fit together as a serviceable system. If the only way to clean the tank or reach the pump is to take the kitchen apart, a small fault can turn into a large job. Set the cabinet dimensions after working out how to fill, isolate, clean and drain the system.
Size the tank using the way you travel
Estimate drinking, cooking and washing water separately for a typical day. Note where you can refill and decide whether you want extra capacity for a trip with fewer stops. Check the tank's usable capacity and full weight. Water adds approximately one kilogram per litre before the container, fixings and plumbing. Ask a competent converter about weight distribution and mounting.
Make the pump reachable
Mark the inlet, outlet and any filter or isolator on the plan for the exact system. Leave room to reach them and to put a small tray beneath a joint during service. Follow the pump maker's mounting and line requirements. Check whether the locker can be opened without pulling out a full drawer. If the pump is near the bed, ask about vibration and compare available mounting locations.
Walk through a refill and a clean
Use a cardboard model of the tank and make sure its hatch can open. Check where a hose, a container and a towel can sit during a refill. Trace the route to drain the system and follow the equipment guidance for cleaning and winter storage. Keep the tank and drinking-water parts appropriate for their intended use.
Frequently asked questions
Does a larger tank always make a van more useful?
A larger tank gives more range between refills and takes weight and space. Plan for your usual trip first.
Should the pump go behind the kitchen drawers?
Only if it remains accessible for servicing and the layout follows the manufacturer's installation requirements.
For the next step, read our campervan kitchen layout guide. Include the tank dimensions and the pump access route when planning kitchen furniture. Start your NEVAN layout enquiry.