
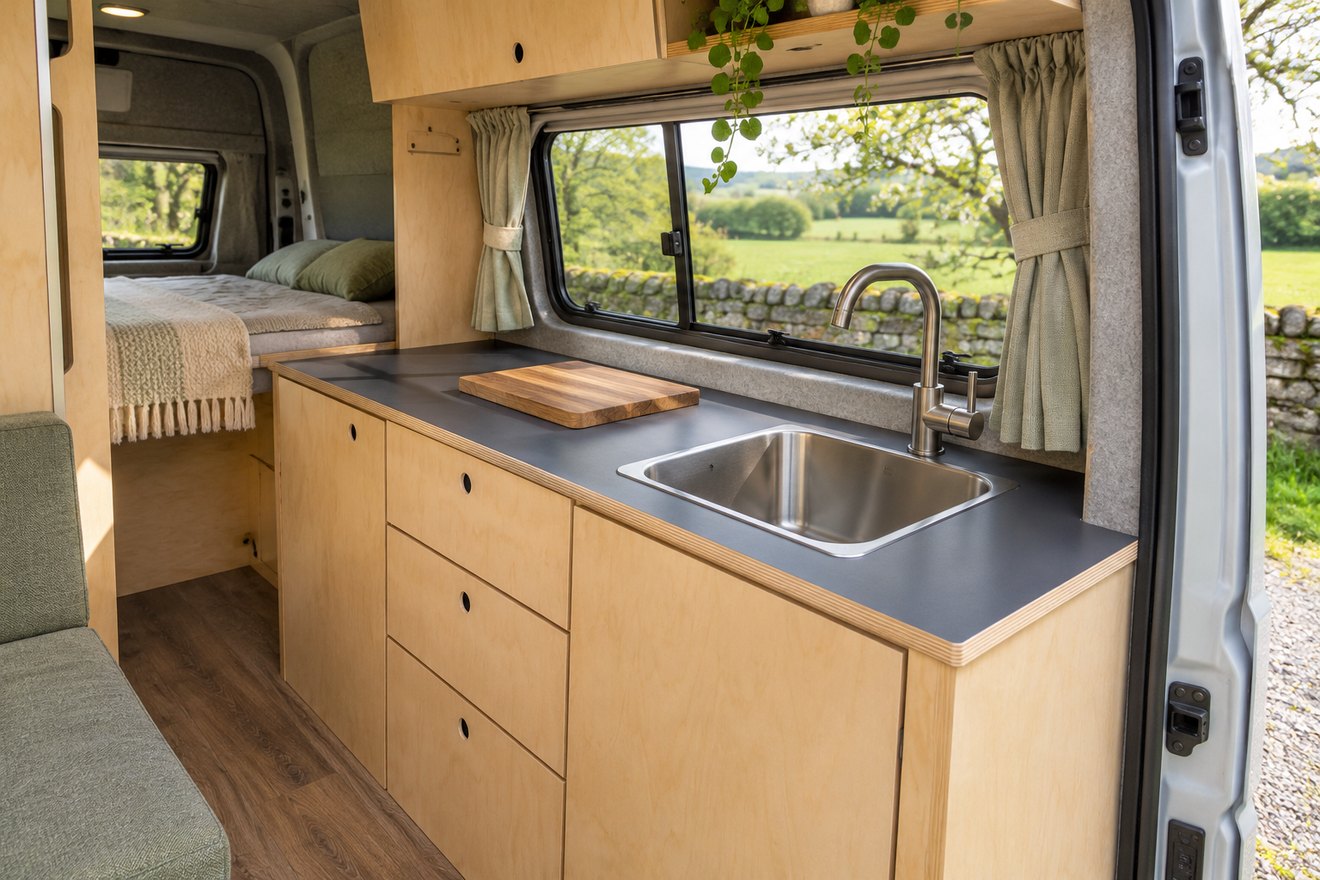
The campervan kitchen worktop is often the first surface you clear in the morning and the last one you wipe at night. Start by drawing the sink, cooker and any fixed fittings on a sheet of card. The blank space left between them tells you more about the everyday kitchen than the total length of the cabinet.
Compare the usable surface and weight
Laminate can make a practical, wipe-clean surface. Check the weight of the actual board, including its core, and how the cut edge will be finished. Sealed plywood can keep the visual line of the furniture but needs the finish and maintenance specified for its intended use. Solid timber may need movement allowance and periodic treatment. Weigh or check the supplier’s figure for a square metre before committing to a long run.
Lay out the cut-outs at full size
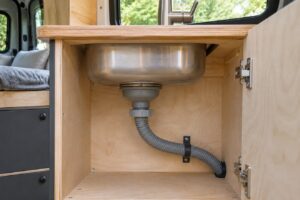
Put the product templates on your mock-up. Leave space for clips, the tap fixing and the plumbing below. Watch for a cut-out that ends directly above a cabinet rail or leaves a slender strip at the front. Use the appliance maker’s clearances and check that the remaining worktop and its support system meet the material supplier’s requirements. A chopping board between the sink and the slider can make more sense than a wide strip you cannot reach from inside.
Finish edges you can clean
Look closely around the tap and sink, especially where an exposed core would catch drips. Seal cut edges with a compatible system and leave access to tighten the tap after fitting. Test the worktop mock-up with your usual plates and a wash bowl before ordering material.
FAQ
Is a thicker worktop always better?
Check span, stiffness and support for the actual material. Thicker boards also change kitchen height and can reduce space for fittings.
Can I put a hot pan straight on laminate?
Follow the surface maker’s temperature guidance and keep a suitable trivet where you cook.
Read our campervan kitchen layout guide for the next part of the build. You can also send your layout and measurements to NEVAN.