
Many campervan conversion mistakes begin before the first panel is installed. A missed measurement, an unclear package specification or a layout chosen only from photos can lead to extra work later.
These ten checks help you review a kit-based project while changes are still easy to make. Use them alongside the fitting instructions for your vehicle, furniture and equipment.
1. Ordering from the model name alone
A vehicle badge does not identify every fitting detail. Record the model year, body length, roof height and existing modifications. Confirm the exact kit match in writing. Our compatibility checklist lists the information to collect.
2. Measuring only the bare metal shell
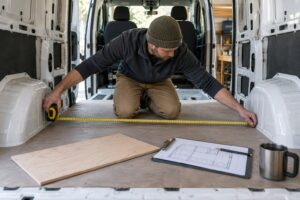
Insulation, wall lining and flooring change usable space. Check the dimensions that the furniture design assumes, particularly around the wheel arches and at bed height. Tell the supplier about any layers already installed or planned.
3. Choosing a bed without testing it
Mark the proposed sleeping dimensions at home and test them with the people who will use the van. Include the mattress and bedding. A bed that fits the vehicle can still be too short or awkward for the sleeper.
4. Forgetting where bedding goes during the day
A convertible bed needs storage for pillows and bedding when used as seating. Decide where those items go before choosing the dinette arrangement. Otherwise, the space saved by conversion may be filled with loose bedding.
5. Filling every available gap with furniture
More cabinets can make the van harder to move around. Protect the aisle and check doors, drawers and the table in both day and night modes. Rehearse cooking, sitting and leaving the van before finalising the layout.
6. Planning services after fitting cabinets
Cables, water connections and equipment need suitable routes and maintenance access. Plan those requirements before furniture conceals the walls. Follow the relevant instructions and arrange qualified installation where required, particularly for specialist systems.
7. Assuming everything in a photo is included
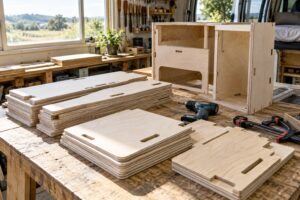
Ask for an itemised specification. Check furniture, hardware, flooring, cushions, mattress and appliances individually. A staged photograph may include optional equipment. Our flat pack furniture guide explains how to compare package scope.
8. Treating assembly time as the whole project
Furniture assembly is one stage. Vehicle preparation, service installation, finishing and any required inspections need their own time. Build your schedule around the full list of tasks and allow room to resolve questions before the first trip.
9. Checking storage volume but ignoring weight
Consider the completed travel setup, including furniture, passengers, water, equipment and luggage. Check the vehicle’s permitted total and axle loads. Secure furniture and cargo using appropriate methods rather than assuming drawers and loose containers will stay in place while driving.
10. Starting with a long trip before a shakedown
Pack as you would for normal travel and spend a short local trip using the layout. Try cooking, converting the bed and reaching storage in poor weather. Note problems while they are easy to correct, and review fittings according to the supplied instructions.
Turn the checks into a build plan
Write unresolved questions beside your layout drawing and settle them before ordering or final installation. A model-specific furniture kit can simplify cutting and assembly, but the project still needs clear decisions about preparation, services and everyday use.
Review the NEVAN kit range, then share your vehicle details and travel needs through the configurator. For the overall sequence, read our step-by-step campervan project guide.
Frequently asked questions
What should I check first in a DIY conversion?
Confirm the vehicle specification and kit compatibility, then test sleeping dimensions and the daily layout before committing to furniture.
Can a kit prevent every conversion mistake?
No. A kit simplifies the furniture stage, but preparation, equipment selection and installation still need careful planning.
How long should the first test trip be?
Choose a short local trip long enough to cook, sleep and use the storage. The aim is to test normal routines and identify changes before travelling farther.
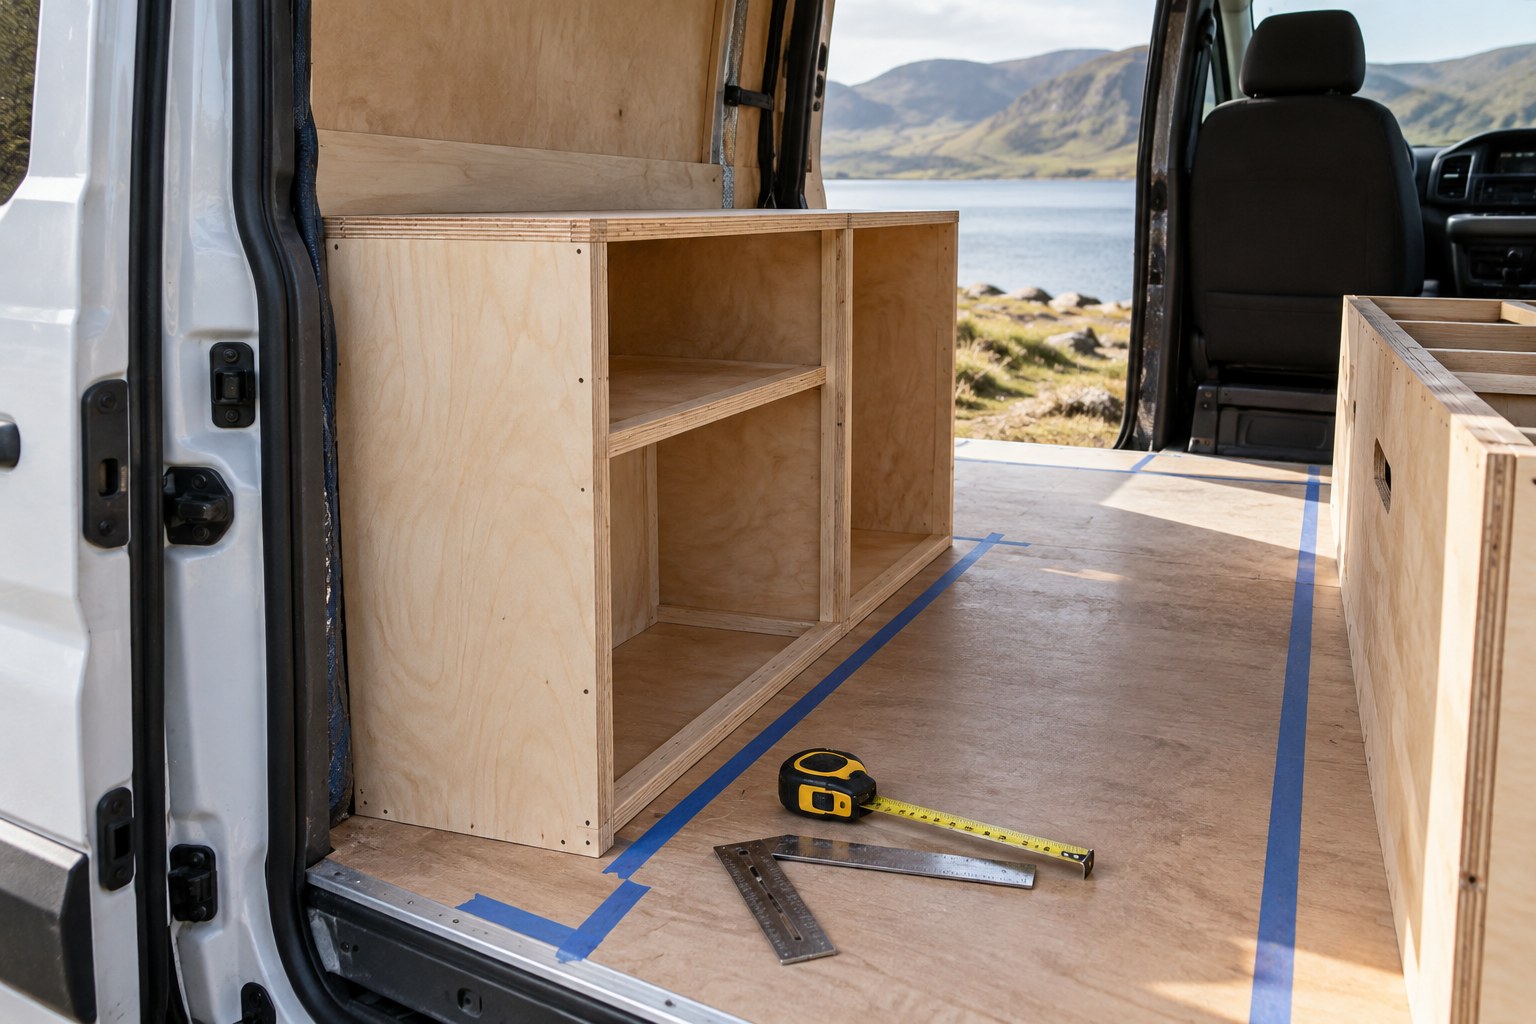
Featured image: AI-generated layout illustration for inspiration; it does not show an actual NEVAN kit or customer conversion.