

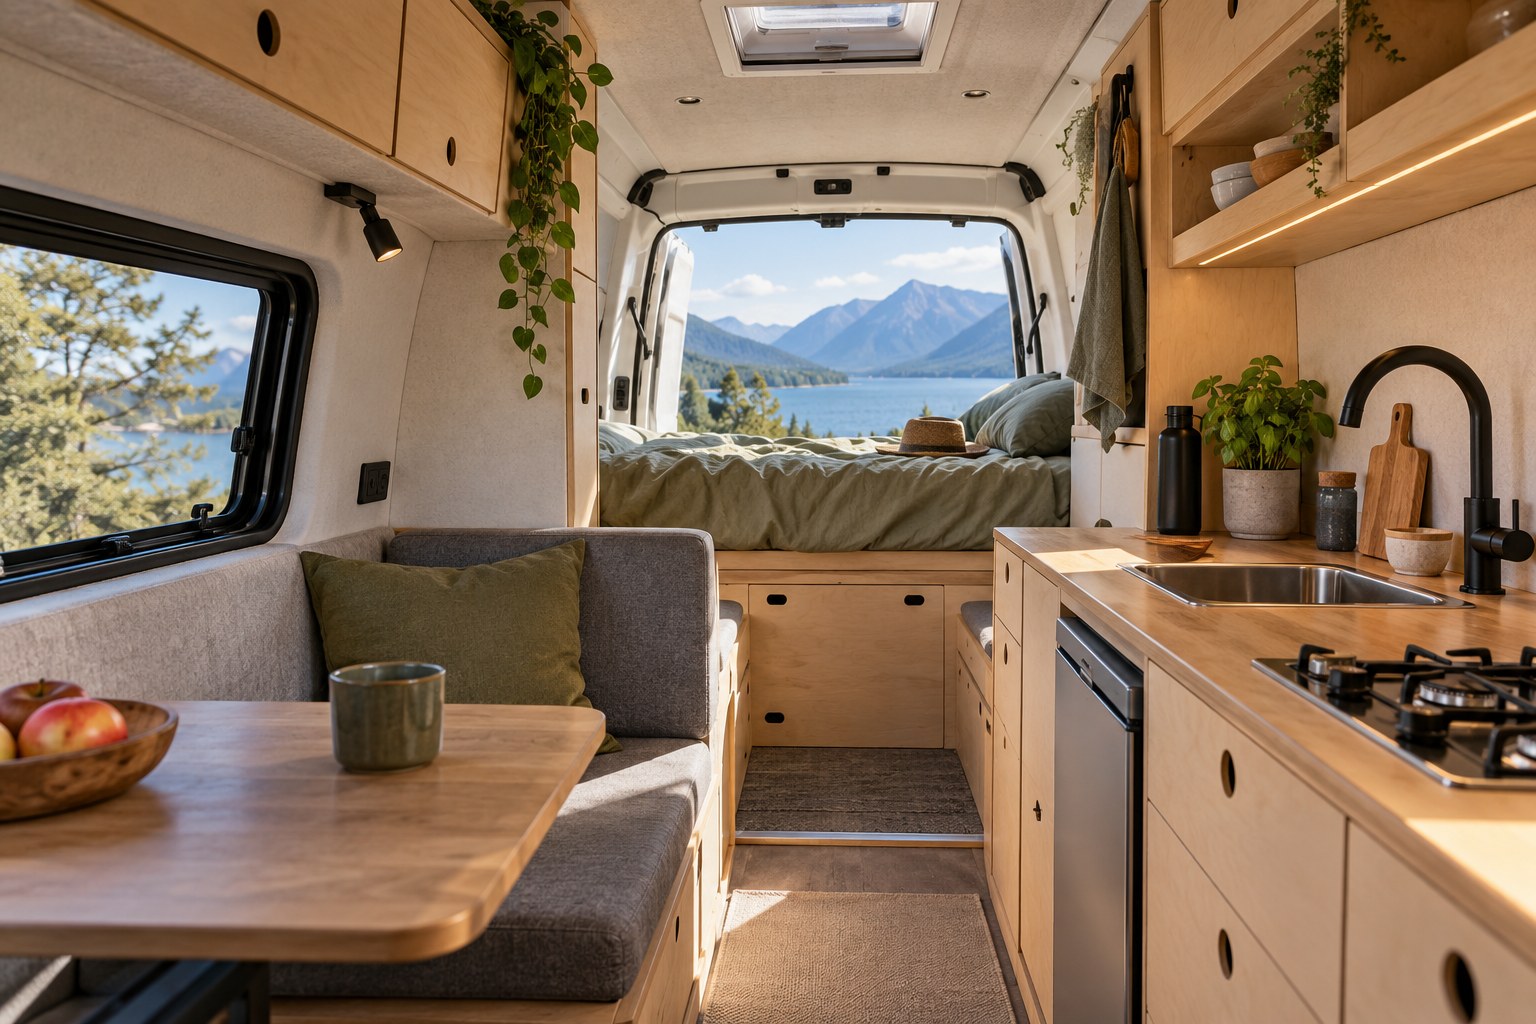
Campervan wall cladding does more than cover the metal shell. It sets the finished shape that cupboards, window surrounds and bed edges have to meet. The most useful starting point is a drawing of those junctions, rather than a choice of colour.
Decide which sections should become permanent lining and which may need to come off again. A tidy removable panel is often more practical than a seamless finish that hides an important service route.
Map the wall before dividing it into panels
Mark windows, door seals, wheel arches, structural ribs and planned furniture on a simple elevation of each side. Add any equipment access zones supplied by your installer. Then sketch panel boundaries where a seam can be fitted and finished sensibly.
Use the actual van as the reference. Similar-looking bodies can differ by length, roof height, year and existing trim. A generic rectangular drawing will not show every taper or change of curvature.
Choose a surface you can live beside
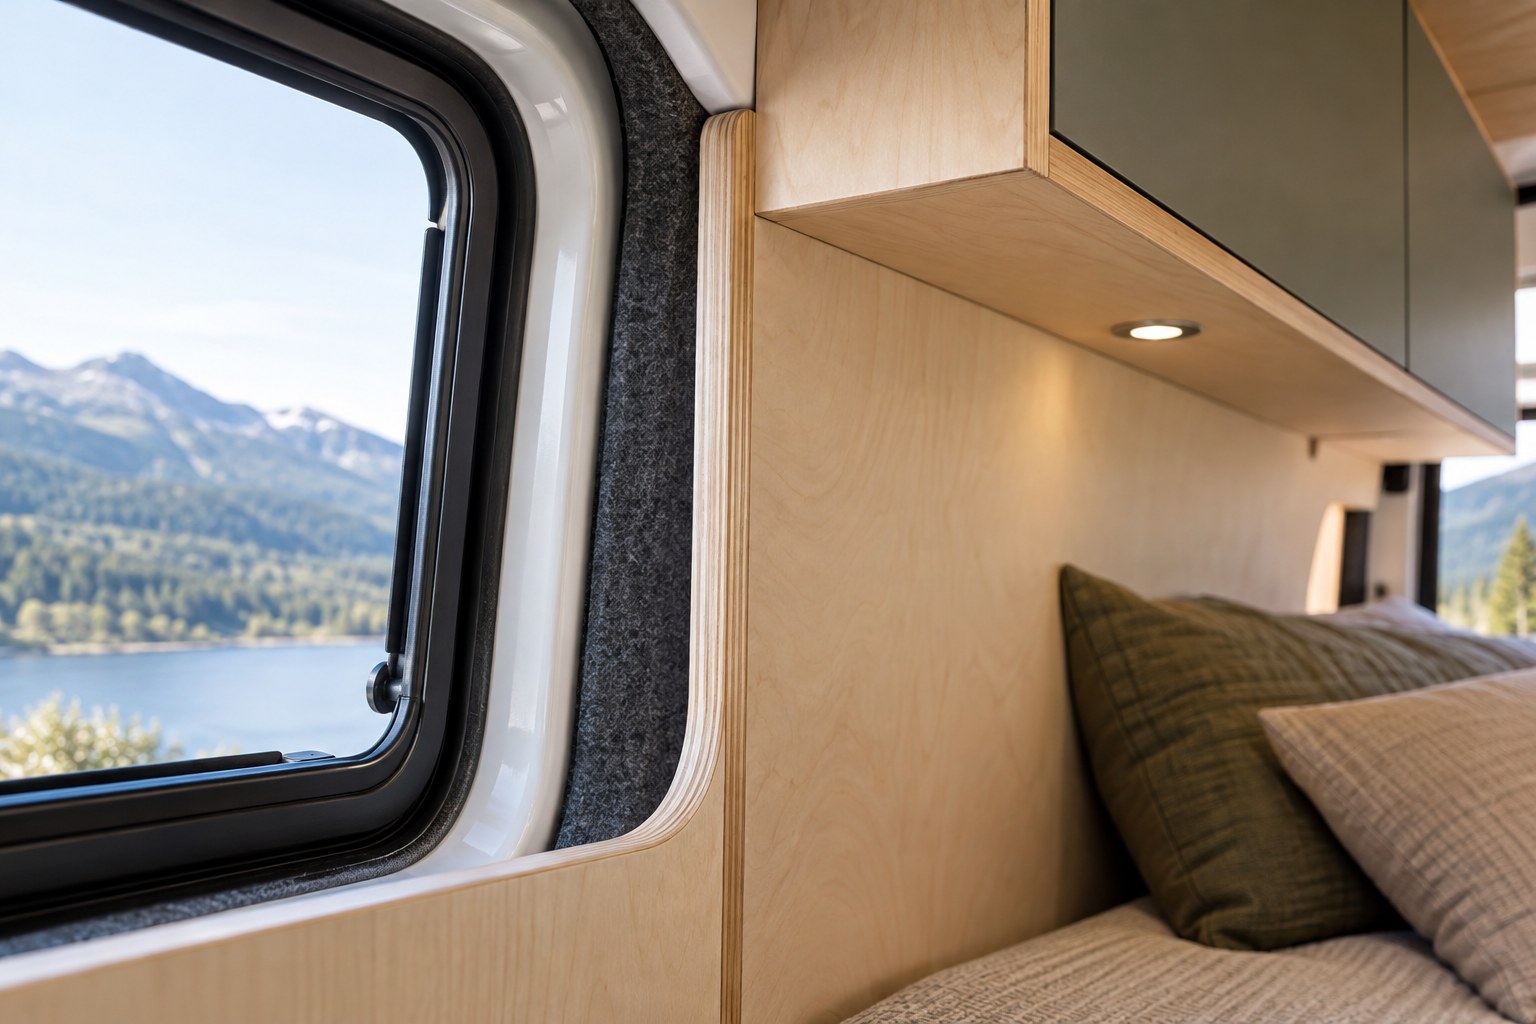
A painted panel, upholstered lining and timber-faced surface behave differently in daily use. Compare their weight, finish requirements, cleaning instructions and edge treatment. Look at a sample beside the furniture material rather than viewing it in isolation.
Think about the activities against that wall. Bedding may rub beside the bed; bags may brush the doorway; cooking can leave marks near the kitchen. Ask the material supplier about suitability in the proposed location and about the complete fitting system.
Check the finish in the light you intend to use. A surface that looks calm in a bright workshop can produce strong reflections or shadows under evening lighting.
Resolve curves and edges before the middle
Test the most awkward junction first. This could be the rear corner, a window reveal or the space where a tall cabinet meets a tapering roof. A full-size temporary template is more informative than assuming a flexible sheet will follow every curve.
- Show how panel edges will be supported and finished.
- Keep door and window operating space clear.
- Check the combined thickness at furniture junctions.
- Confirm the supplier’s fitting and expansion requirements.
Do not cover a required ventilation opening or interfere with the vehicle’s original safety equipment. Agree any fixing into the vehicle structure with a competent converter using the relevant vehicle guidance.
Design access as part of the appearance
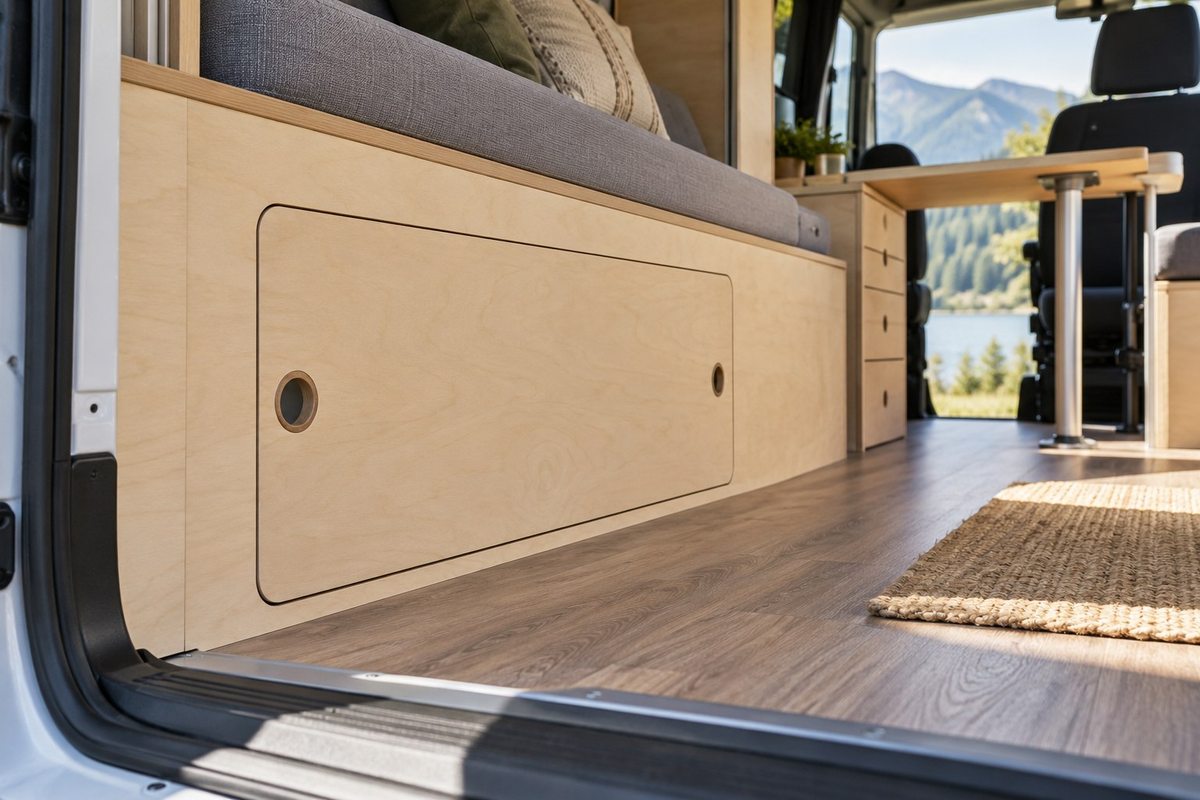
Where equipment needs inspection, draw a removable section large enough for the actual job. A tiny opening that reveals a connection but leaves no room for a hand or tool is not useful access.
Ask what must happen to remove the panel. If the answer involves taking out a bed, kitchen and overhead cupboard, reconsider the sequence. Accessible fasteners and a deliberate joint can save substantial dismantling later.
Measure furniture against the finished lining
Keep a record of the proposed lining thickness and the way it follows the vehicle wall. Finished internal width matters to the bed, cabinet spacing and aisle. Measure at more than one height because the wall does not remain equally wide from floor to roof.
Our furniture measurement guide helps assemble the rest of the brief. Discuss the lining and kit interface with NEVAN before ordering or making irreversible cuts.