
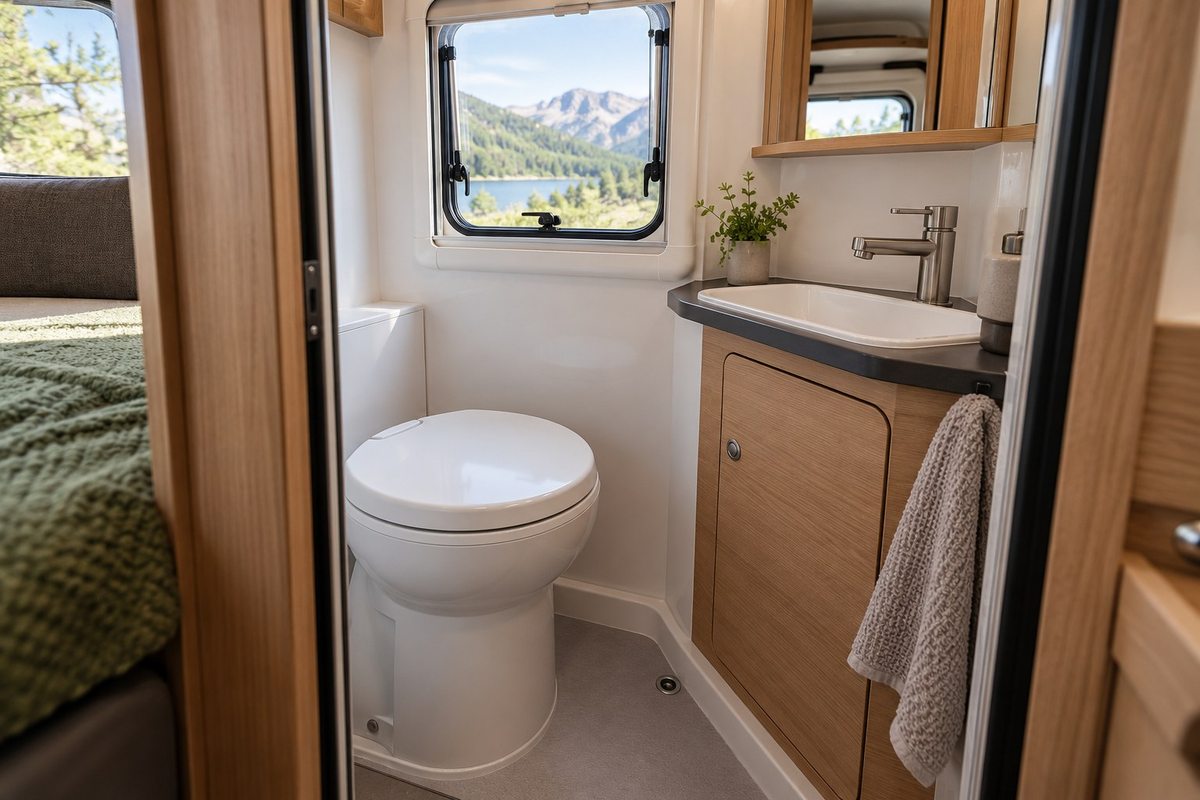
A cassette toilet for van conversion use needs two layouts to work together: the space where someone sits and the route used to remove the cassette. Planning only the visible washroom can leave the service side facing a vehicle feature that prevents a sensible installation.
Select the exact toilet and compatible service-door arrangement before finalising the compartment. Similar-looking models can have different drawings, fittings and installation requirements.
Start with current model documentation
Obtain the installation and user instructions for the proposed toilet. Identify the required mounting arrangement, access, clearances and any supporting systems. Keep the model reference in the project brief so everyone is discussing the same equipment.
For example, Thetford publishes a dedicated S220 installation manual. Use the appropriate current manual for your own product; the presence of a toilet in another van does not establish that the same installation suits yours.

Draw the cassette’s full removal path
Show the cassette in its installed position and as it is withdrawn. Allow room for handles, catches and the user’s hands. Check what lies outside the service door, including open vehicle doors and anything carried near that side of the van.
Think about the campsite routine as well. You need to reach the hatch, remove the cassette and carry it to an appropriate disposal facility without routing it through clean storage or balancing other equipment out of the way.
Coordinate the service door and vehicle structure
A hatch location must be assessed against the actual vehicle body and the equipment’s instructions. The apparent empty space on a floor plan does not show every rib, system or body feature. Have a competent installer confirm the complete arrangement before any body alteration.
- Identify the compatible service door and exact drawings.
- Keep its opening and lock accessible.
- Confirm weather sealing and installation responsibilities.
- Preserve required vehicle and equipment access.
Do not copy a cut-out size from a different door or model. Manufacturer dimensions can refer to different parts of the assembly, and the correct template belongs to the selected product.
Design the cabinet around real servicing
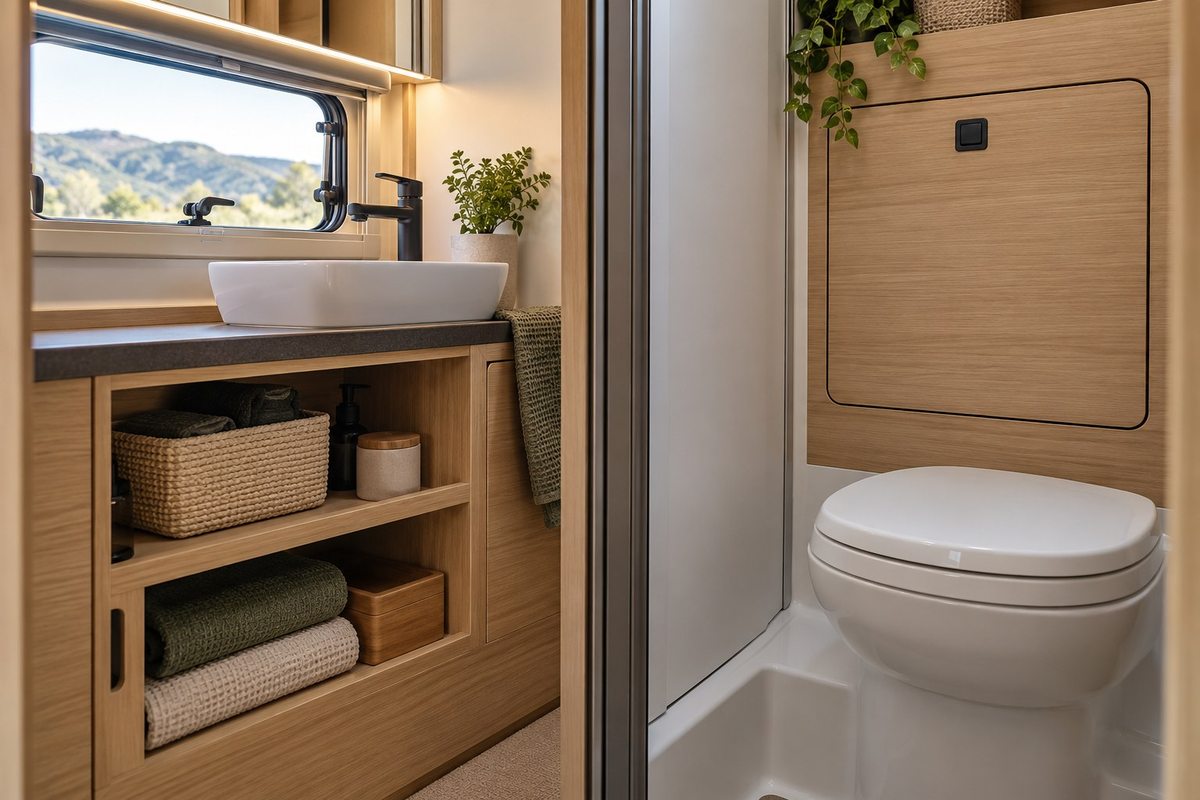
The toilet surround should leave the access required by the manufacturer. Plan removable furniture sections where needed and check that their fasteners remain reachable after the rest of the interior is fitted.
Separate cabinet detailing from the design of water, ventilation and electrical connections where applicable. Agree who supplies, installs and checks each part. A furniture package does not automatically include a functioning toilet system.
Check the user’s side too
Test the seat position, lid movement, privacy boundary and the night-time route from the bed. Our toilet dimensions guide helps define that operational space.
Share the chosen product drawings with NEVAN before adapting a kit or confirming a custom layout. Resolve the service route and furniture interface while the plan can still change.