
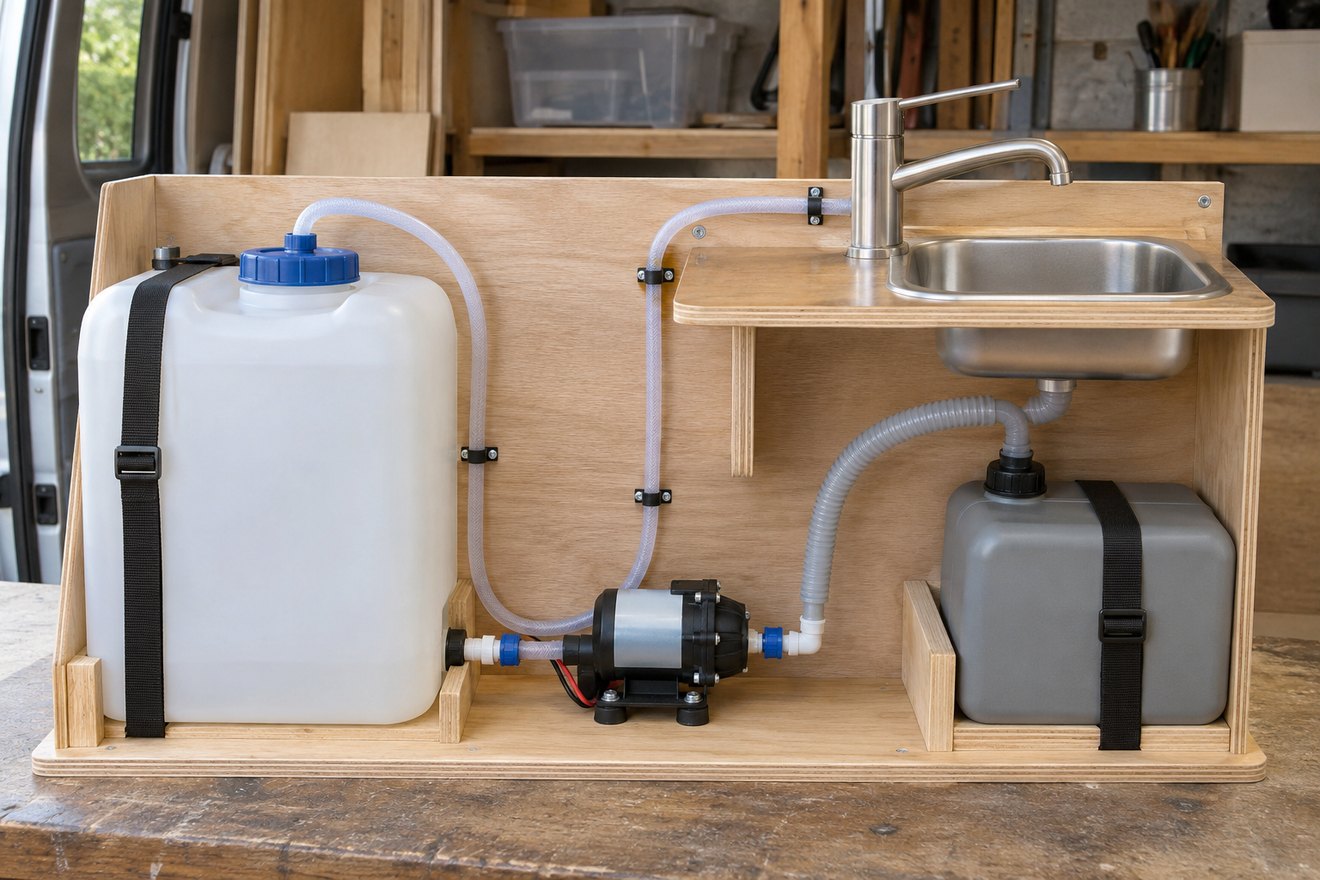
A campervan water system diagram is useful when someone needs to find a drain or isolate a fixture without emptying the garage. Start with a simple arrow from the fresh tank to the fittings. Draw the waste route on the same page with a separate colour or line style, and show any hot-water equipment that changes the route.
Draw the flow before deciding on cabinetry
Mark the fill, tank vent, tank outlet, pump and filter if fitted. Then add the cold branches, hot-water heater and outlets as specified by the equipment makers. Draw the grey route from each fixture to its intended container and disposal point. Give you and the installer a shared name for each valve or access cover so it can be identified quickly.
Mark service positions in the completed van
Add drain points and how to reach them, along with the inspection cap and cartridge clearance. Compare the paper diagram with the actual route behind the furniture. Record any changes from installation and put a copy in the van where it can be read without power or reception. Use the manuals for approved materials and operation.
FAQ
Do I need a scaled plumbing drawing?
Use a clear flow diagram for operation and a separate measured layout for fit, fall and access. The two serve different jobs.
Should I include the pump’s power circuit?
Show the pump and its control location, and cross-reference the electrical diagram for protection, wiring and isolation.
Read our campervan water tank and pump guide for the next part of the build. You can also send your layout and measurements to NEVAN.