

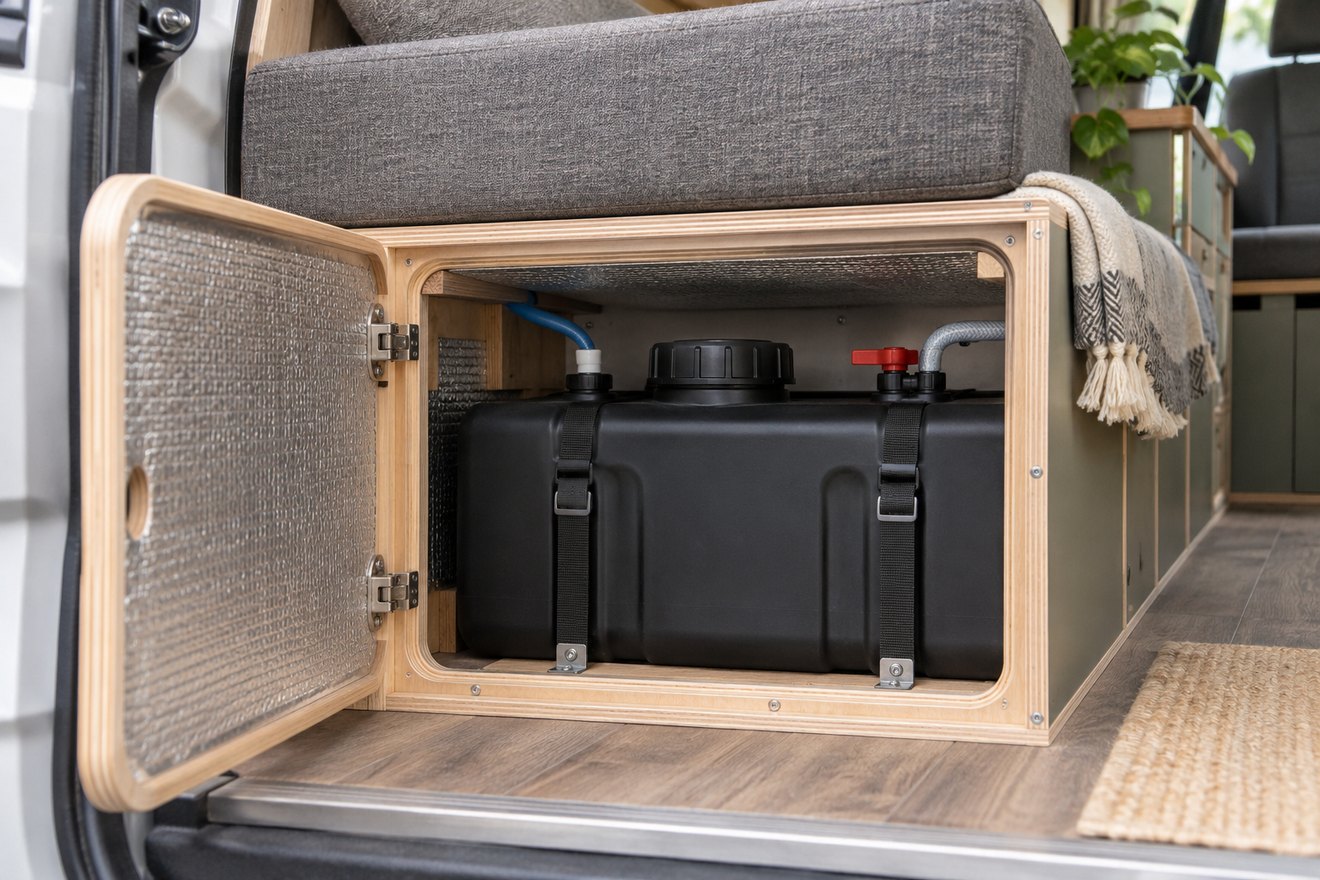
Campervan water tank insulation slows the rate at which a tank changes temperature. The pipe, drain or valve outside the insulated area may be the first part affected by freezing. Draw the complete route your water takes before choosing how to protect it on cold trips.
Compare inside and outside locations
Mark which areas remain within the heated interior and which are exposed when parked. Check the manufacturer’s operating limits and make access to drain points part of the design. Allow for the insulation thickness and keep intended tank supports, vents and fittings functional. If a tank or pipe needs heating, use equipment approved for the installation and have its power and controls checked.
Make drain-down a planned task
Mark the connections and low points most likely to retain water. Follow the instructions for the tank, pump, filter and water heater when preparing for freezing conditions or storage. The Camping and Caravanning Club guide to winter care explains why water left in the system matters. Keep the drain accessible once furniture is fitted and document how to reopen the system.
FAQ
Will a layer of insulation prevent freezing on its own?
It can delay cooling. Use the equipment’s temperature and storage guidance to plan additional protection or proper drain-down.
Should the drain valve go inside the insulation?
Follow the approved arrangement and retain access. Consider both external exposure and the route needed to drain safely.
Read our campervan wheel arch water tank guide for the next part of the build. You can also send your layout and measurements to NEVAN.