
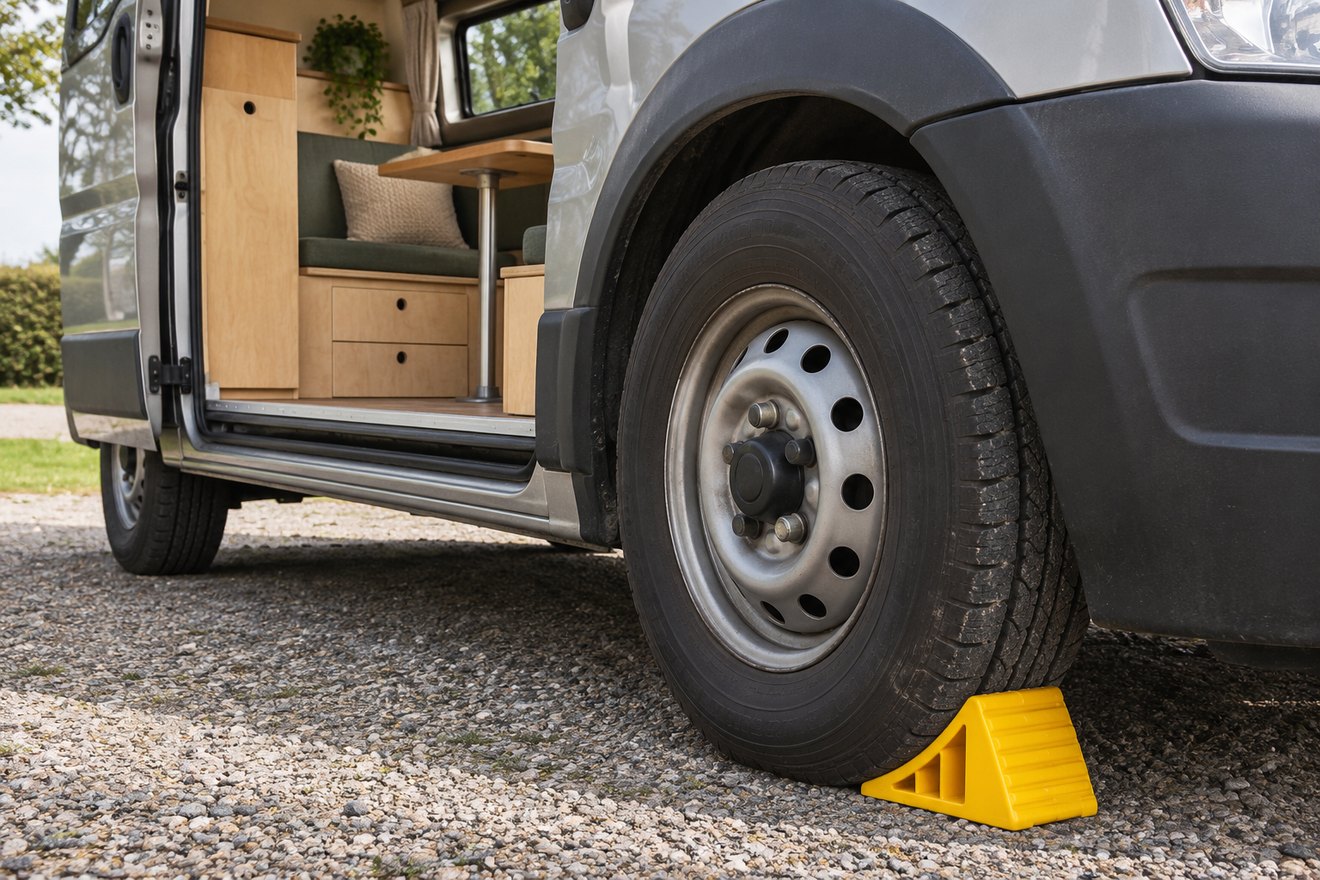
Campervan wheel chocks add a physical barrier against unintended wheel movement when used with the vehicle’s correct parking procedure. They work best when they fit the tyre and bear on a suitable surface. Work out where they will live so you can reach them without unloading the rear garage first.
Compare the chock with the tyre and surface
Use the maker’s stated application and rating. A tall tyre and a small chock may make poor contact, while loose ground can undermine an otherwise suitable product. Park on firm, level ground where possible and follow the vehicle handbook for braking and gear or park selection. Check the chock maker’s directions for the surface and wheel position. If the pitch cannot provide secure parking, ask for another one.
Treat levelling and parking as separate tasks
A leveller raises a wheel. A chock resists movement. Use the components together only as their instructions allow. Avoid ordinary objects that can roll, split or slide. Keep hands and feet clear of the path of movement and confirm the vehicle is secured before placing or removing equipment. The HSE guide to parking explains the role of firm ground, brakes and wheel chocks in preventing unintended movement.
Make departure checks obvious
Store the chocks in an accessible low box and use an easy reminder on your parked van if they are out. Follow the safe removal sequence in the instructions, remove the reminder, and confirm the chocks are stowed before moving. Check periodically for cracking or wear at the contact face.
FAQ
Do wheel chocks replace the parking brake?
Use the parking procedure in the vehicle handbook. Chocks are an additional aid where the conditions and instructions call for them.
Are chocks the same as levelling wedges?
Check the stated purpose and whether the manufacturer permits the two products to work together. Some levelling systems include a matching stop.
Read our campervan doorway and ground clearance guide for the next part of the build. You can also send your layout and measurements to NEVAN.