

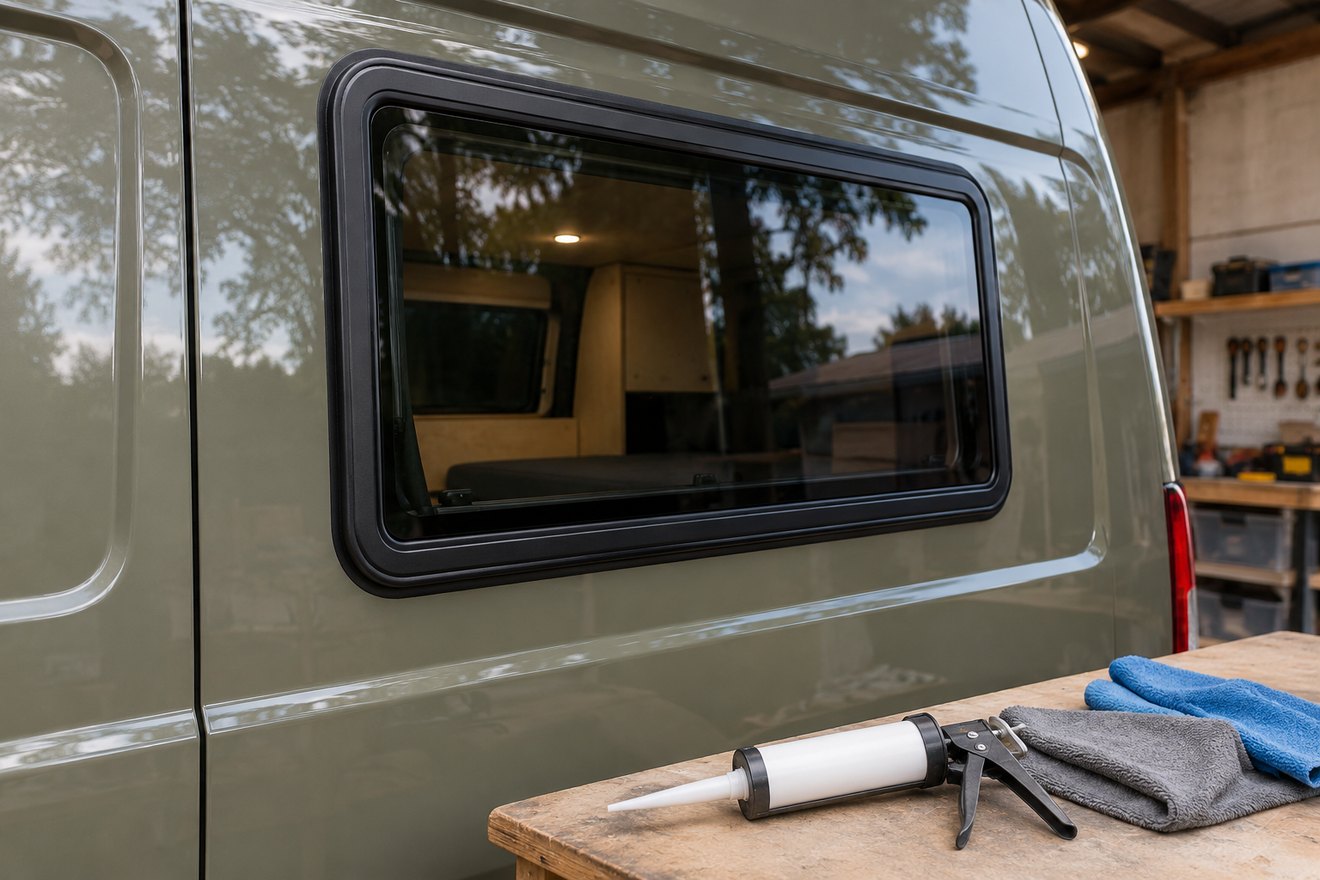
Before buying campervan window sealant, identify what holds the glass or frame in place. A bonded window, a clamp-in frame and rubber-mounted glazing can each need different products and preparation. A wet corner inside the van may also be below the actual source of the leak.
Find the water path first
Dry the area and check where water reappears. Look at the roof fitting, door seam and trim above the window, along with the window itself. If the manufacturer allows a controlled water test, use a gentle flow over one section at a time while someone checks inside. Keep the test away from exposed electrics and avoid blasting water into intended drains or vents.
Match the product to the original system
Read the window and sealant instructions for compatibility with the frame, glass, coatings and adjacent seals. A clamp-in frame may specify a bedding seal and particular compression, while bonded glazing needs its specified adhesive system and preparation. Avoid covering drainage slots. Check the curing conditions and movement restrictions before planning when the van can go back outside or onto the road.
Keep the trim accessible until it passes
On a removable interior lining, delay closing the panel until the approved cure and leak test are complete. Photograph suspect seams and the fitted product label for future repairs. If bonded glazing is loose, there is corrosion at an opening or structural work is needed, ask a suitable installer to inspect it.
FAQ
Should I run a bead around the outside of any leaking window?
Find the source and check the fitting instructions first. An external bead can block intended drainage or conceal an issue at the mounting surface.
Can condensation look like a failed seal?
Yes. Check whether moisture appears during rain, overnight occupancy or both and inspect the areas above the frame.
Read our guide to comparing van window frames for the next part of the build. You can also send your layout and measurements to NEVAN.