
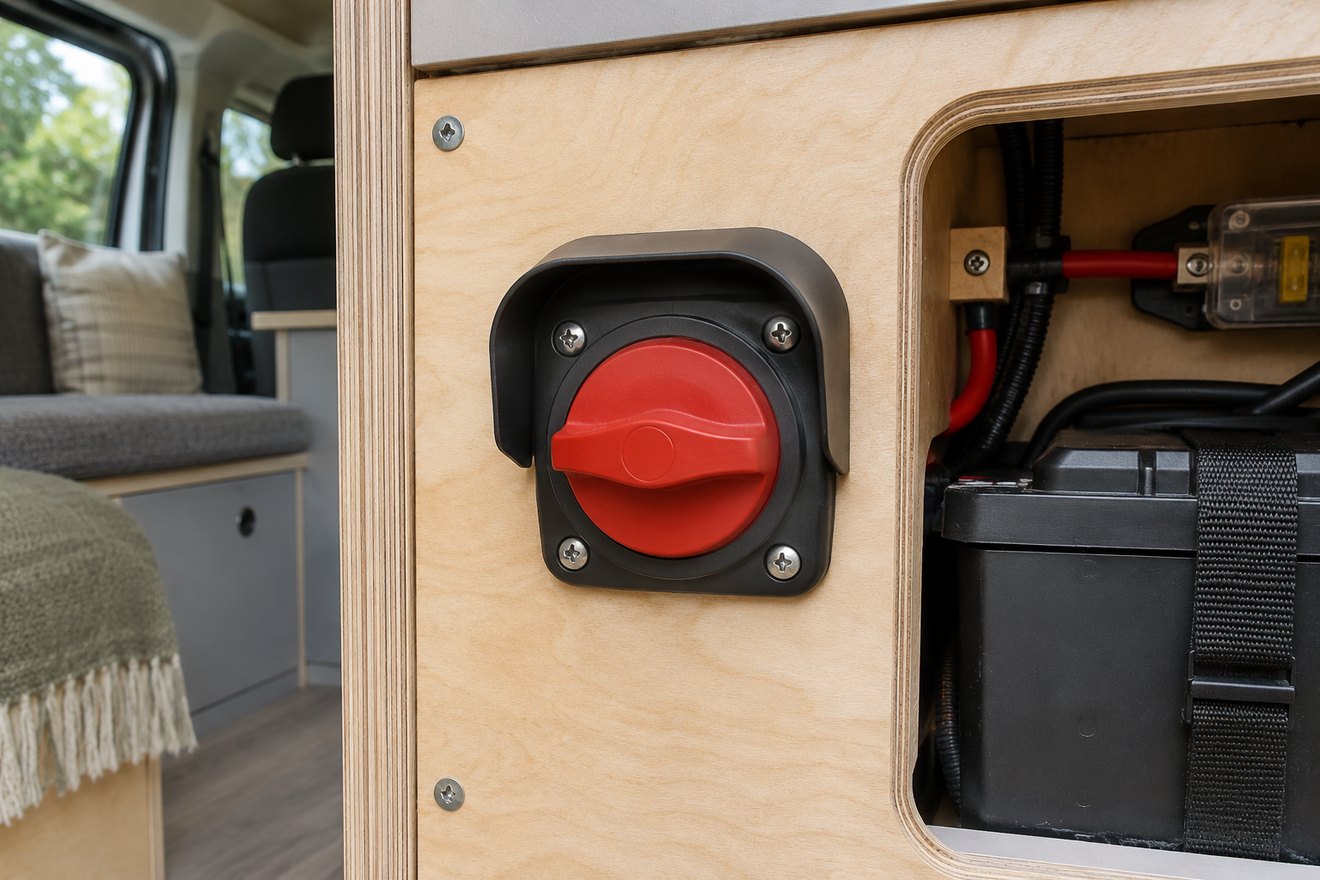
A campervan battery isolator switch gives you a place to disconnect specified parts of the leisure electrical installation. Its location and label matter when the garage is packed or another person is using the van. Ask the installer what the switch controls and which supplies need their own shutdown procedure.
Map the batteries and charging sources
Draw the leisure battery, vehicle charging line, solar controller and mains charger as separate sources on a simple plan. Ask a qualified auto electrician to confirm which circuits the proposed switch isolates and how to make the relevant equipment safe for servicing. The Victron guide to DC wiring describes how an isolator connects within a DC system. The switch type, current and voltage ratings must suit the installation.
Pick a place you can reach in a loaded van
Stand where the switch will be operated and try reaching it with the bed set up and cupboards full. Leave clearance to turn it and protect it against accidental contact from loose bags. Keep the operating position visible and record which access panel leads to the connections for inspection.
Write down the shutdown and restart sequence
Some devices and charging sources need a specified order. Put the installer’s documented sequence beside the switch or in the van manual. Include what a normal restart looks like and which circuits are expected to remain energised. Arrange for the installer to demonstrate it before you use the switch away from home.
FAQ
Can the battery isolator be used as a daily light switch?
Use the equipment’s normal controls for routine operation and the isolator for the purpose and duty specified by the installer.
Does one switch disconnect roof solar and the vehicle battery?
Check the actual wiring and shutdown instructions. Different sources and circuits can require separate isolation points.
Read our guide to interpreting a campervan battery monitor for the next part of the build. You can also send your layout and measurements to NEVAN.