

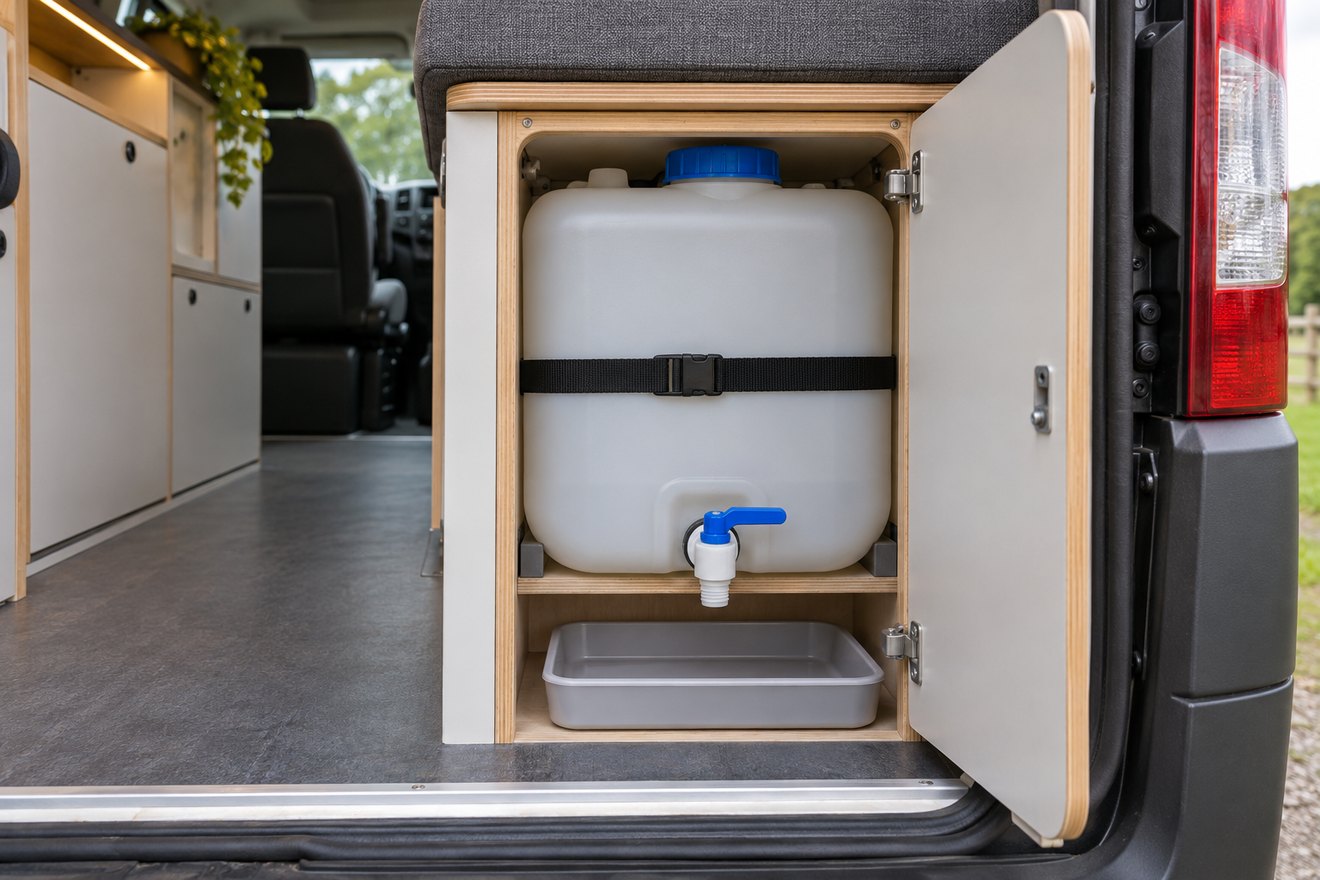
A campervan water tank drain tap earns its place when the tank needs cleaning or the weather turns cold. Put it where you can reach it with the van packed, and where you can see what is happening when it is opened. A hidden tap can be fine until the first time you need it in the dark.
Work from the tank and the drain route
Read the tank maker's drawing and identify its intended drain connection. Check the actual floor, surrounding supports and the intended discharge route. The direction of the outlet matters as much as its height. Put a removable container or a hose where you expect the water to go and check that you can see the connection and move it safely.
Test access with the conversion complete
Mark the position of the valve on the cupboard plan. Try reaching it with the bed made, the travel boxes loaded and the rear door open. Leave enough room to grip the handle and inspect the fitting. A small service hatch may be more useful than access behind the deepest drawer. If a valve could be knocked by stored gear, plan a guard that leaves it easy to operate.
Include the rest of the water system
Draining the tank is one part of a winter storage routine. Lines, taps and appliances can retain water. Follow the pump, heater and tank manufacturers' instructions and arrange suitable maintenance for the full system. Label the accessible valves and note the routine so someone else can use it. Dispose of drained water in a suitable place for its contents and the site.
Frequently asked questions
Does the drain tap have to face the rear doors?
Choose the position around reach and the discharge route. A side locker can work if you can see, operate and service the valve.
Can I winterise the system by opening one tap?
Check the complete system instructions. Components and pipe runs can hold water after the tank has drained.
For the next step, read our guide to keeping the rear garage accessible. Mark the drain and service hatch on the sketch you share with us. Start your NEVAN layout enquiry.