

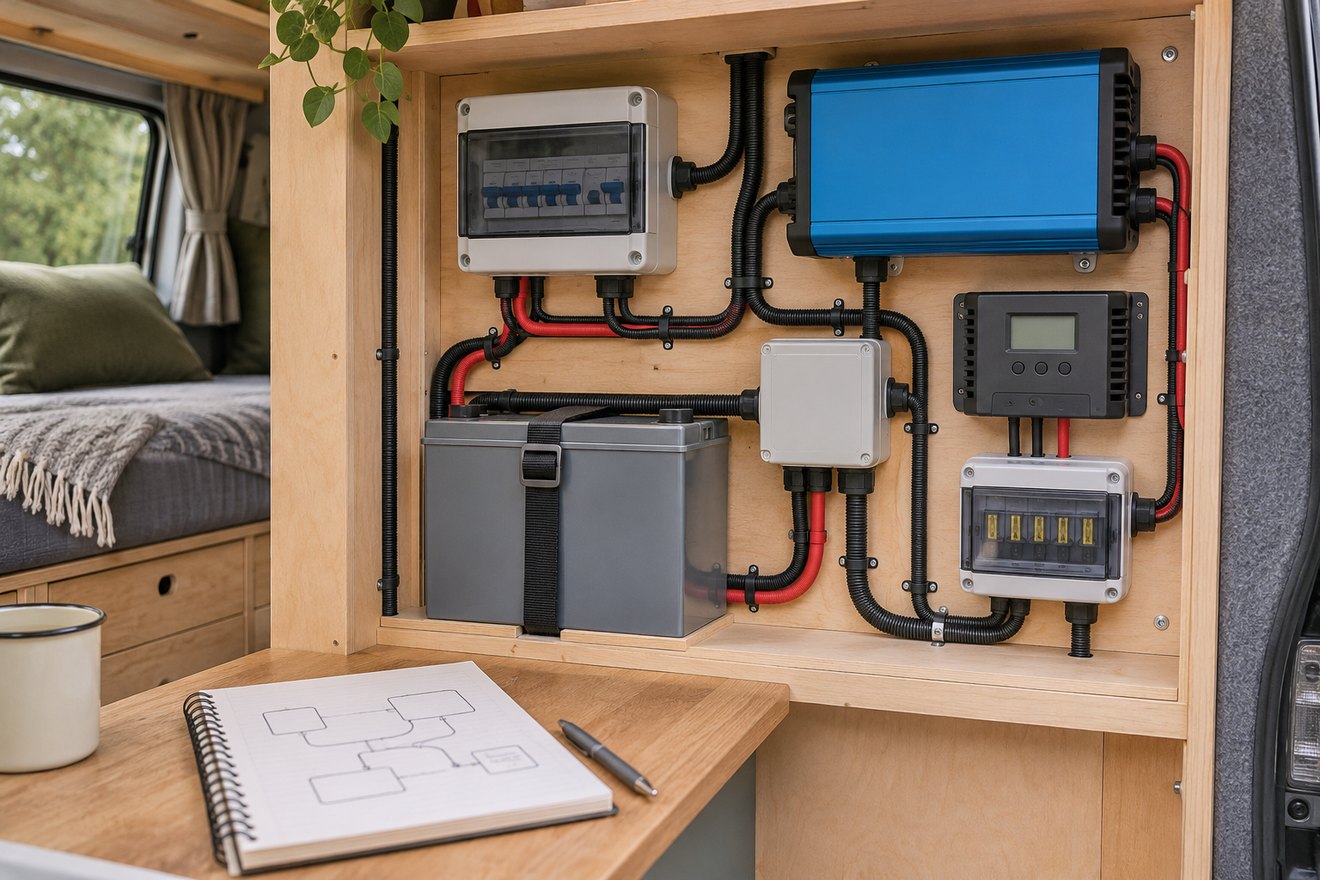
A campervan electrical system diagram should help the installer plan the build and help the owner find the right instructions on a trip. Draw the sources first, then follow each through its specified protection and controls to the equipment it supplies. Leave room to update the drawing once the system is fitted.
Record each source and its isolation point
Show the leisure battery, vehicle charger, solar and mains equipment where applicable. Ask the installer to mark what each switch isolates and which equipment may remain energised. Use separate lines and labels for AC and DC so they are easy to follow. Give each circuit a short name that matches the label near its protection device.
Add a location plan and a handover note
Place the equipment and access covers on a sketch of the van. Record the actual models, the installer’s inspection notes and the correct shutdown sequence. Save a copy you can reach offline. A qualified installer should produce or check the detailed protection, cable sizes, earthing and design for the actual equipment. The Victron guide to DC wiring illustrates common documentation concepts.
FAQ
Can I wire the van using a generic online diagram?
Have the design checked for your vehicle and components. Generic drawings can help organise questions for the installer.
What detail needs to go beside the circuit name?
Keep the location and equipment references clear, with the protection and specifications from the final installation record.
Read our campervan battery system guide for the next part of the build. You can also send your layout and measurements to NEVAN.