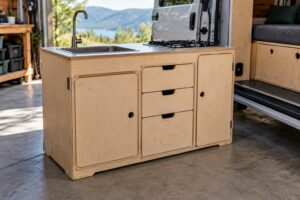

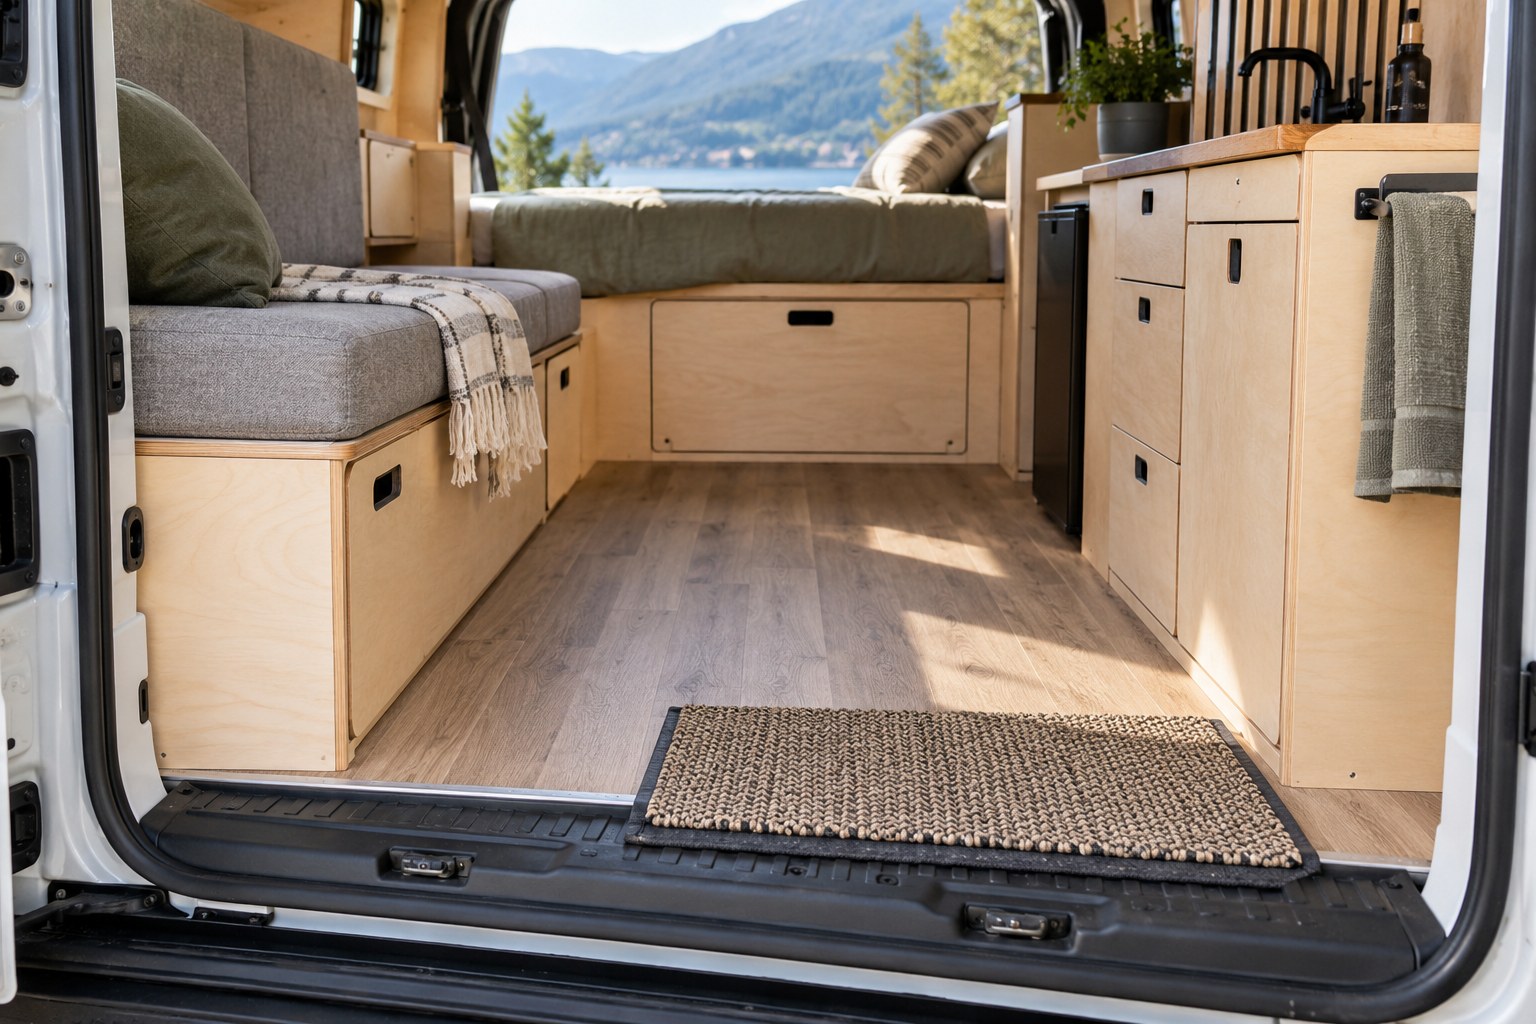
Campervan flooring options are easier to compare when you separate the visible surface from the floor build-up beneath it. A thin finish can still sit on a substantial insulated floor, while a soft-feeling sample says little about whether the complete assembly suits your furniture and doorway.
Start with everyday use: wet shoes at the entrance, crumbs beside the kitchen, chair legs, and the route from the bed to the door. These are the places where a finish has to earn its space.
Compare complete floor assemblies
Ask what each proposal includes. Record the subfloor, insulation where applicable, adhesive or underlay, visible finish and edge trims. Their combined height affects standing room, the entrance step and the relationship between furniture and windows.
Confirm whether a furniture kit is designed to sit on the finished floor or needs another installation sequence. Changing the floor thickness after measuring the interior can alter the fit of tall units and curved panels. Follow the kit supplier’s requirements rather than assuming the difference is negligible.
Give samples a practical test
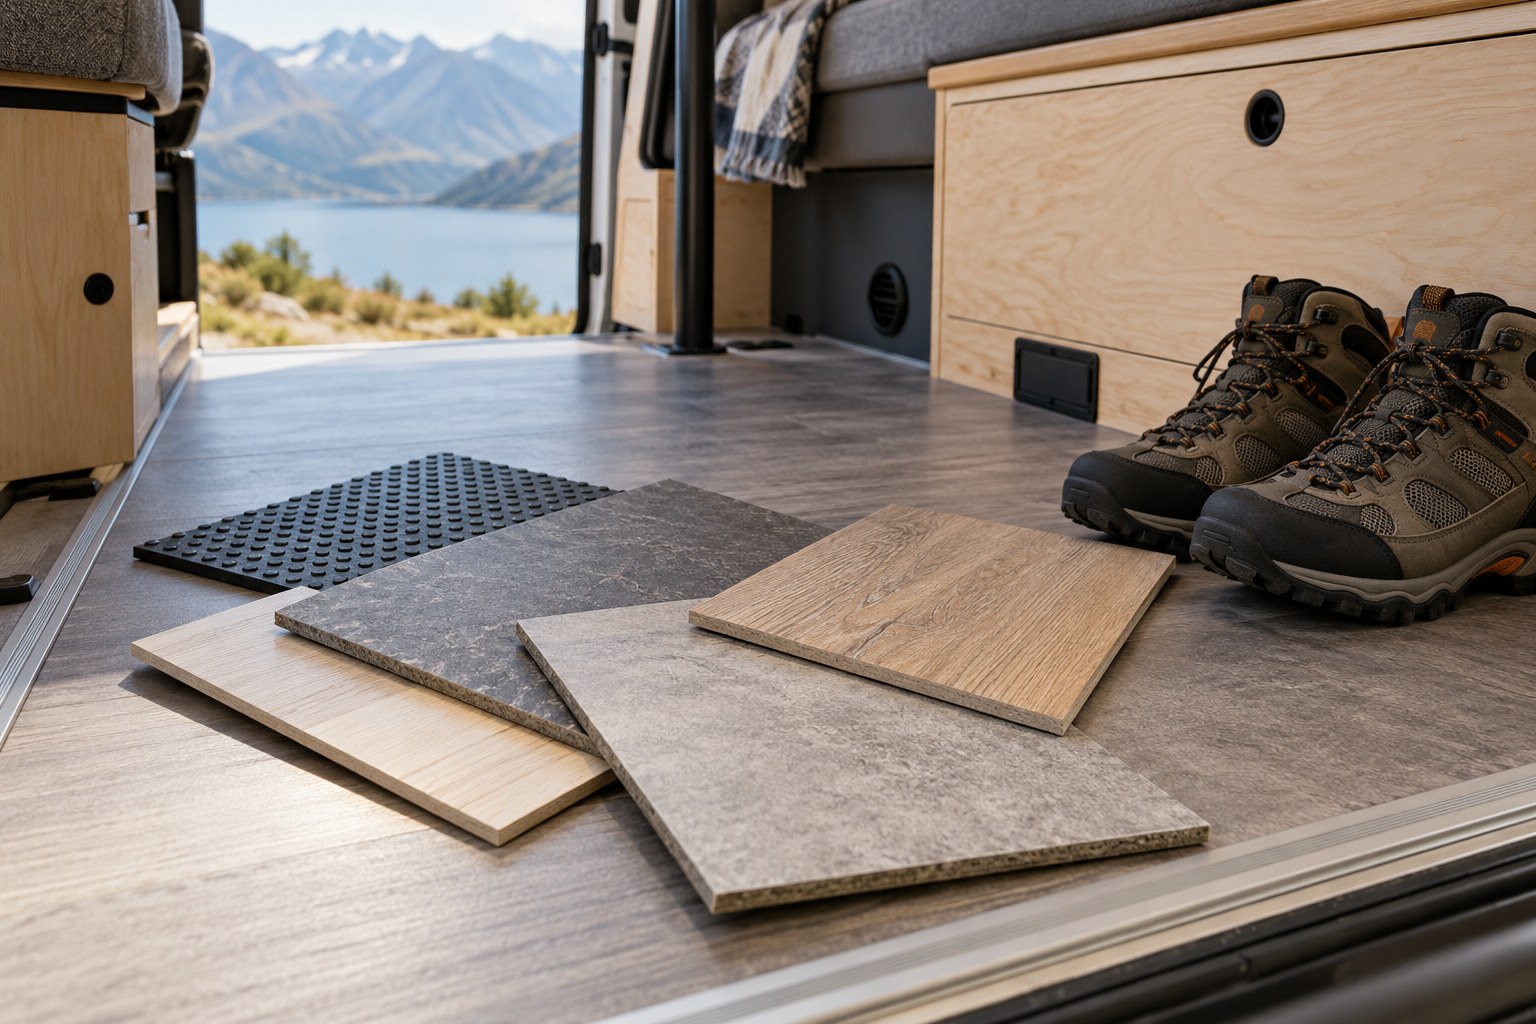
Take a usable sample of each candidate home. Look at it in daylight and under the lighting planned for the van. Place ordinary shoes on it, wipe away a small amount of household dirt and check how its texture feels to clean.
Sheet vinyl can offer a continuous-looking surface, but edges and penetrations still need the right detailing. Individual planks or tiles introduce joints and may have specific requirements for substrate stability and temperature. Cork and other specialist finishes also need their own installation and care checks.
Do not choose a product solely because another conversion used something similar. Ask the flooring supplier whether the exact product and installation system are suitable for the conditions in your vehicle.
Study the entrance and furniture edges
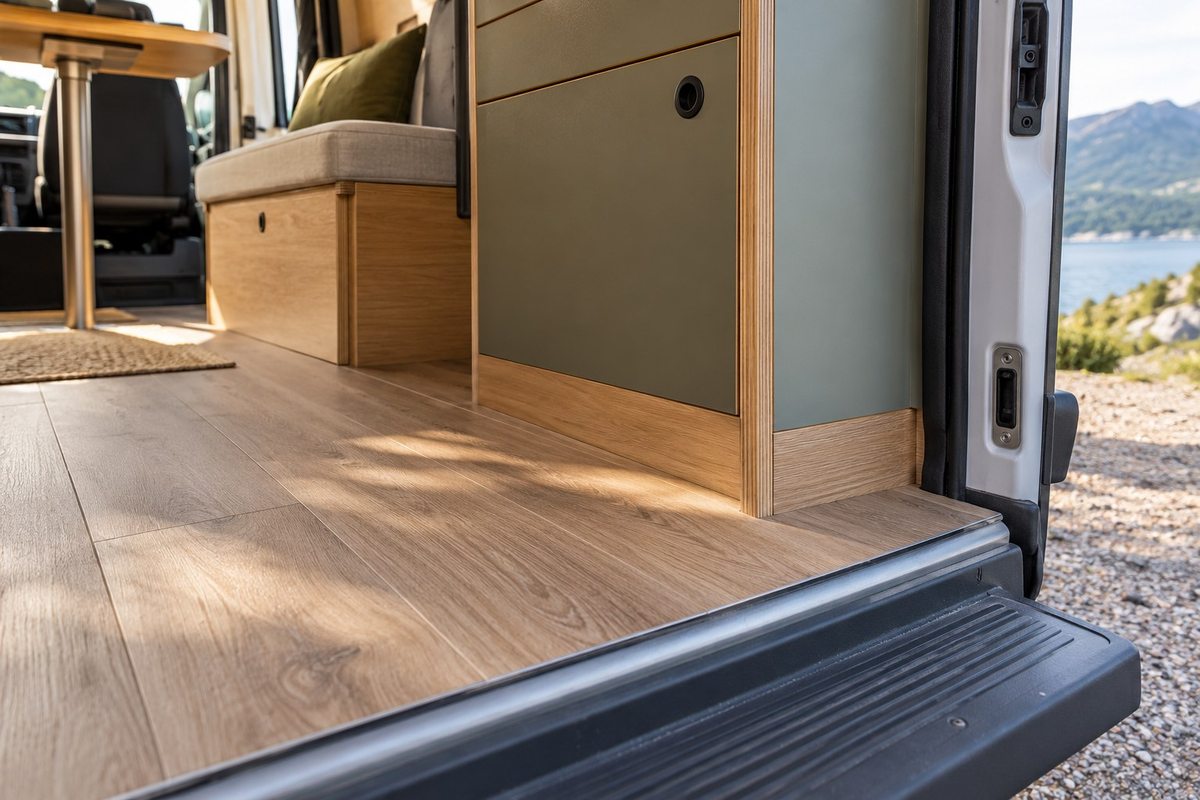
Draw the places where the floor ends: the sliding doorway, rear threshold, wheel-arch boxing and cupboard bases. A good-looking central area can be undermined by an awkward exposed edge where everyone steps inside.
- Check how threshold trims will meet the finished height.
- Keep access to required fixing and service points.
- Allow cupboard doors and drawers their intended clearance.
- Choose an edge detail that can be inspected and cleaned.
For the wettest arrival routine, combine the finish with sensible shoe storage. A removable boot tray can contain grit without turning the whole floor into a storage area.
Plan cleaning with the furniture installed
Imagine sweeping the finished interior. Can you reach beneath the table? Are there narrow channels beside the kitchen where dirt will collect? A continuous floor plan on paper can hide corners that become inaccessible once cabinets are fitted.
Check the manufacturer’s cleaning advice before buying mats or treatments. Also decide how you will remove a mat to dry it and inspect the surface below, especially after rain has been tracked inside.
Make the finish part of the fit brief
Record the chosen floor build-up and finished height alongside your vehicle measurements. Keep a spare sample and the product details for future repairs. A small repair plan is useful when the original colour or pattern is no longer available.
Before ordering NEVAN furniture, confirm the floor and mounting requirements for the proposed kit. The floor and furniture should be planned together, with responsibility for each installation detail clear.