
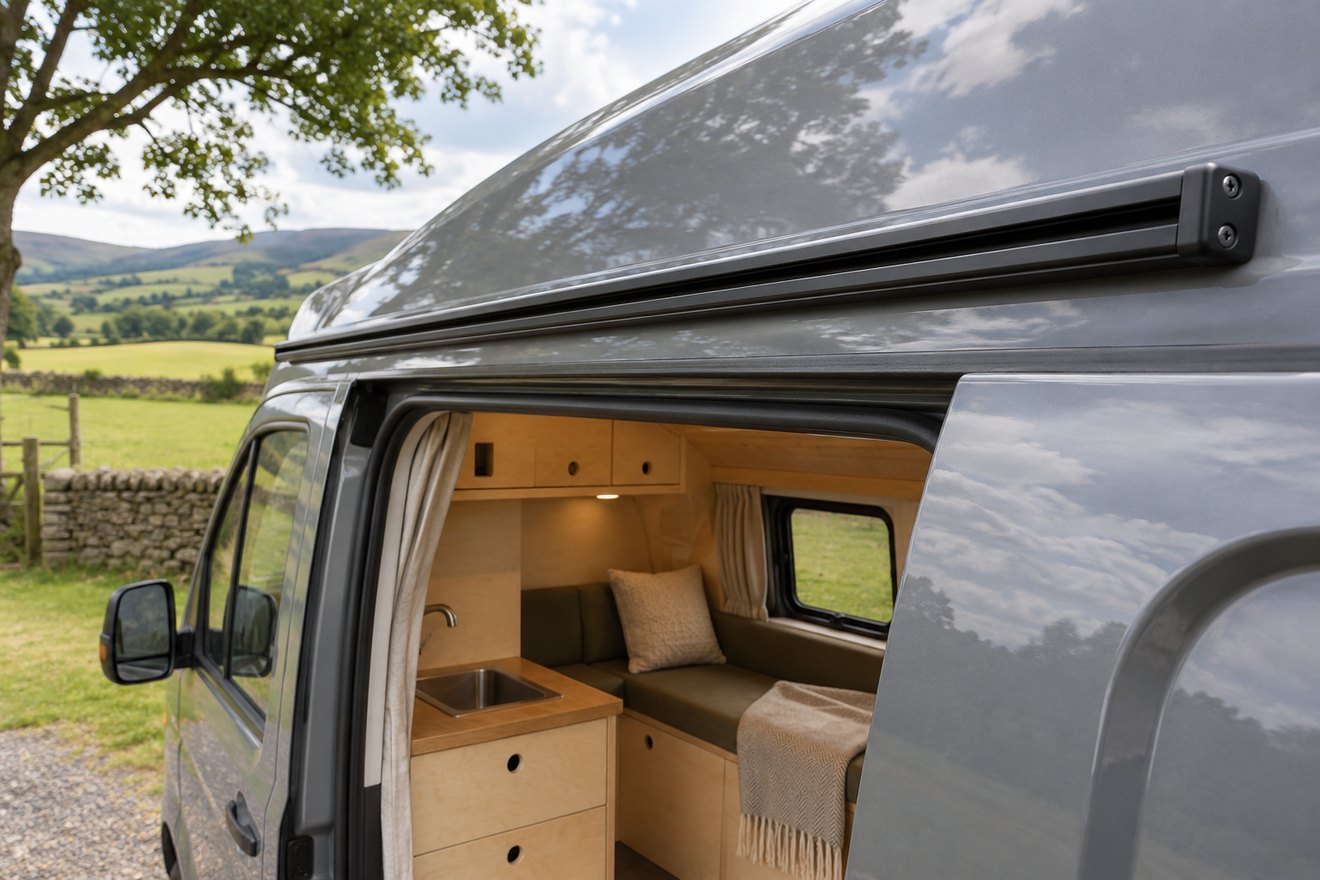
Campervan awning rail fitting starts with knowing which accessory will slide into the rail and which part of the van can carry it. Measure the intended height at the rail itself. A rail that looks well placed above the slider can run into the door’s upper edge or put the awning tunnel out of its height range.
Match the rail to the accessory
Check the channel size, usable straight length and entry direction. Allow room to feed the bead or connecting strip from the end without hitting a rack or the back door. The Outdoor Revolution rail-height guide explains why the connection height matters more than a published overall van height when selecting a drive-away tunnel.
Draw the fixing path before choosing the rail
Look up the vehicle and rail manufacturer’s fitting guidance. Confirm the compatible position, substrates, fixings and weatherproofing. Move the slider through its full travel and mark roof accessories and electrical entries nearby. Ask a qualified installer to review any fitting that alters the body, and use the approved mounting method for the load and accessory. A rail intended for fabric may have different requirements from the brackets on a heavy cassette canopy.
Test the connection at home
After the installation is ready for use, check the threading direction and practice attaching the fabric with the van on level ground. Make sure the side door, step and required vents stay usable. Find out what maintenance the rail and its attachment points need following rain or regular travel.
FAQ
Can the same rail carry a tarp and a drive-away awning?
Check the accessory’s bead and the rail’s permitted use, loading and length in both instructions.
Can I trim the rail to clear the back door?
Only if the manufacturer permits it. Check the entry point, end profile, attachment spacing and effective mounting length first.
Read our drive-away awning measuring guide for the next part of the build. You can also send your layout and measurements to NEVAN.