

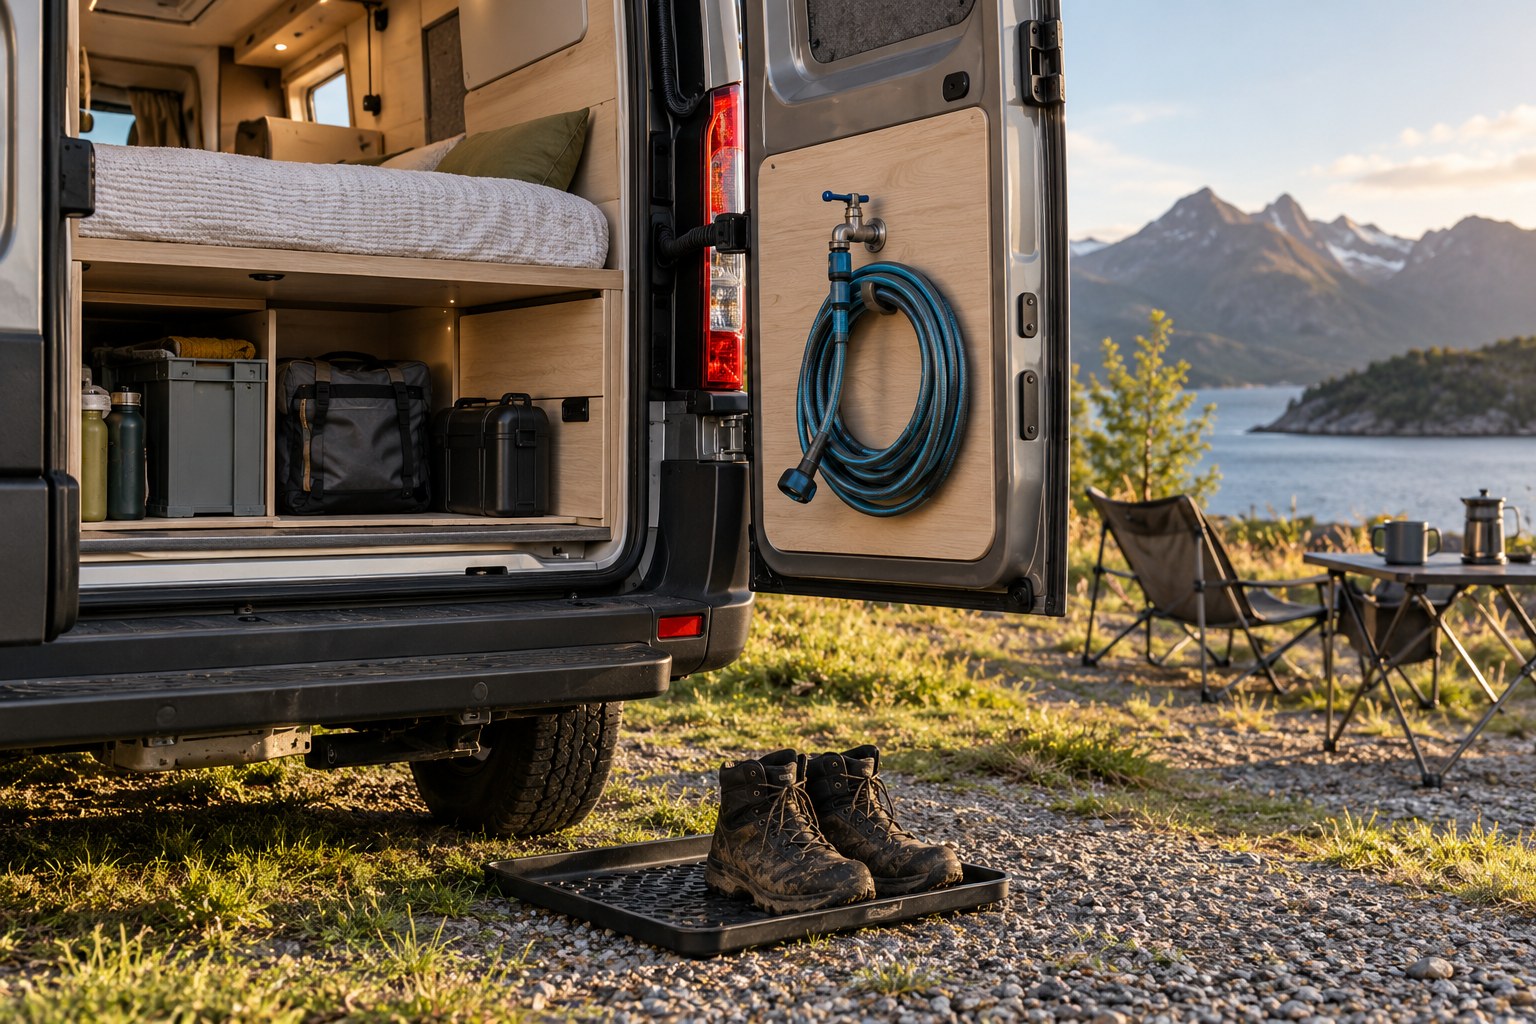
A campervan external shower point can be useful for rinsing boots, outdoor equipment or sandy feet. Its best position depends on where that job happens and what you can reach without bringing dirt through the living area.
Before choosing a fitting, write down its main purpose. Occasional gear rinsing, washing a dog and using an outdoor shower enclosure create different requirements for access, privacy and water management.
Follow the dirty-gear route
Imagine returning from a muddy walk. Where do you put the bag, sit down and remove your boots? Locate the planned rinse area close enough to that routine to be useful, while keeping water away from open storage, electrics and clean bedding.
Check the rear and side-door options with the doors open. A connection that is easy to reach in a bare van may become awkward behind a loaded garage or a kitchen module.
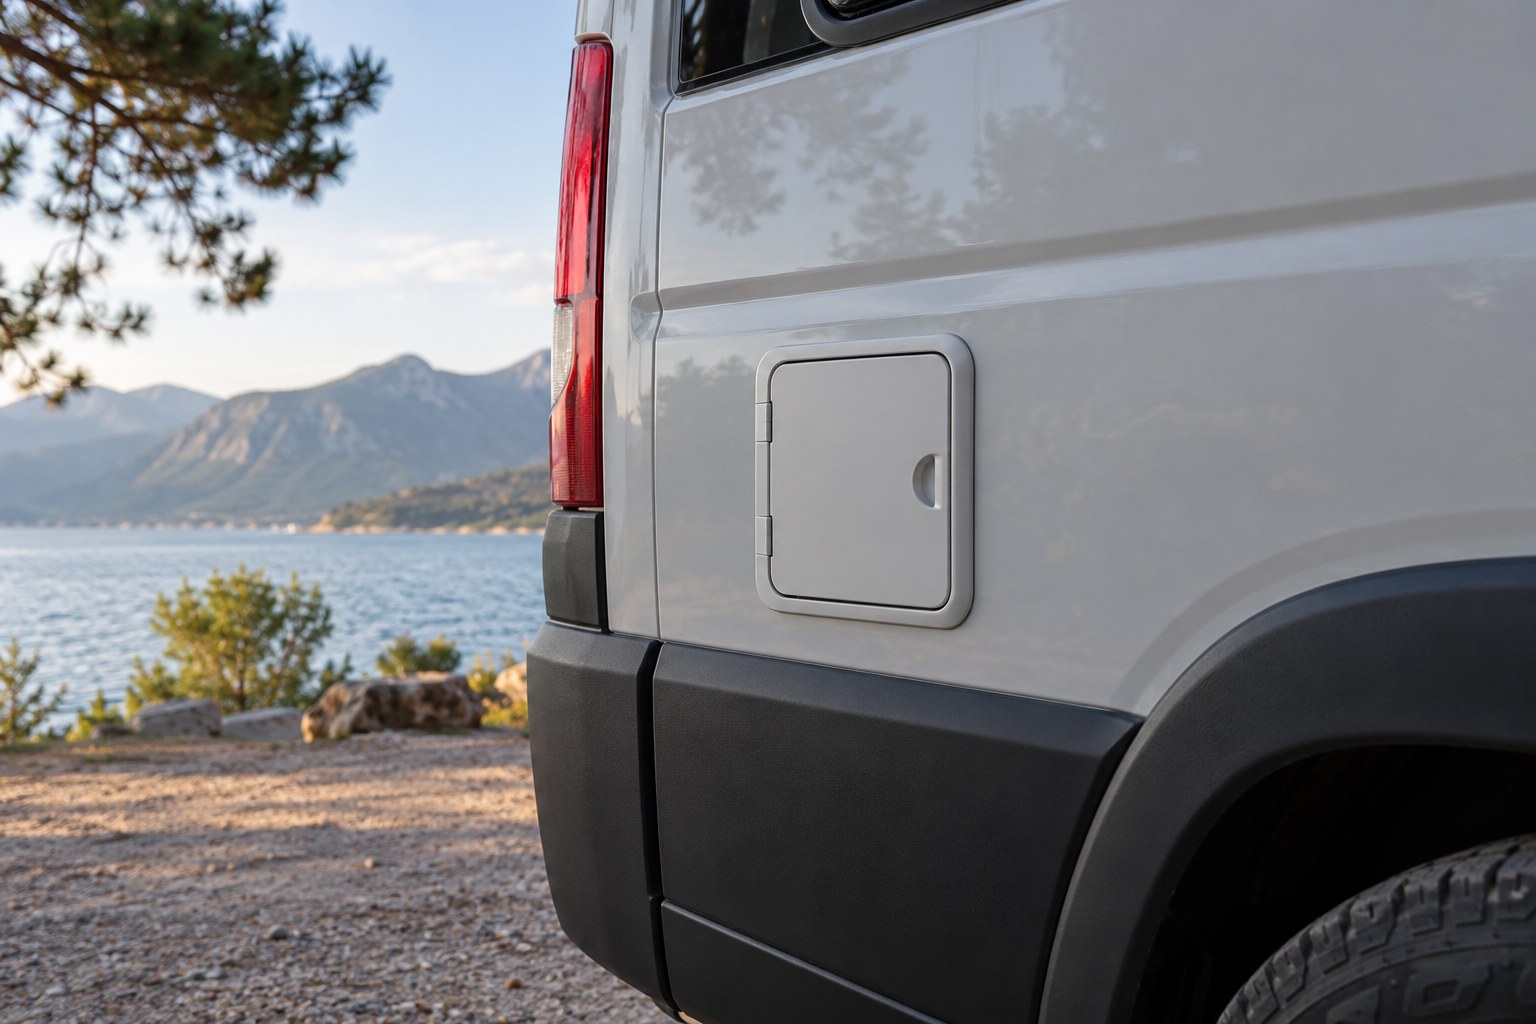
Test the complete hose reach
Use a temporary line to represent the hose and stand where you expect to rinse gear. Allow for the connection, door movement and the route around furniture. Confirm the actual hose’s intended use and operating instructions before treating its nominal length as usable reach.
Think about a second person passing the van. A hose stretched across a walking route is inconvenient, especially on a busy pitch. Keep the setup within the space you are allowed to use.
Plan water collection before the outlet
Decide where used water will go. Follow local rules, site requirements and suitable disposal arrangements; do not assume water can be discharged onto a pitch or into a surface-water drain. Products used for washing can affect what disposal is appropriate.
- Include any collection container in the storage plan.
- Keep dirty gear separate from drinking-water equipment.
- Check the required temperature control and operating procedure.
- Make the connection accessible for inspection and maintenance.
Have the plumbing system specified and fitted for the intended equipment by a competent installer. The outlet should be planned as part of that system, with its isolation, servicing and seasonal care requirements understood.
Give wet accessories a temporary home
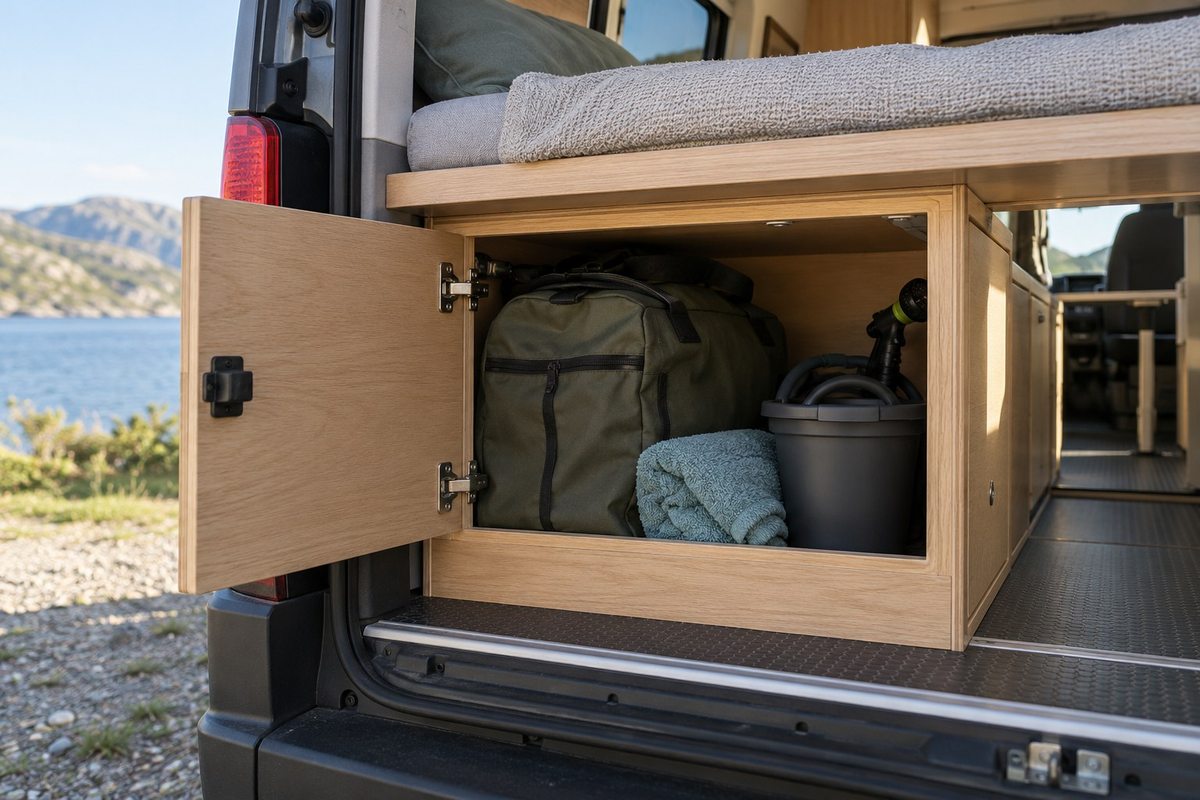
After rinsing, the hose and attachment may still be wet. Plan somewhere suitable for them to drain or dry before longer storage, following the manufacturer’s care advice. Avoid putting damp accessories straight against clean fabrics or untreated storage surfaces.
A removable container can keep this routine manageable if it fits the cupboard opening and is easy to clean. Our shoe storage guide can help organise the related wet-boot area.
Check the arrangement in poor weather
Repeat the routine with a jacket on and the main living doors mostly closed. Consider where you put a towel and whether the outdoor job remains practical when it is cold or raining. This helps establish which tasks the rinse point will genuinely serve.
Before adapting a NEVAN cabinet or vehicle panel, discuss the proposed location and access requirements. Confirm the furniture interface separately from the plumbing design and installation.